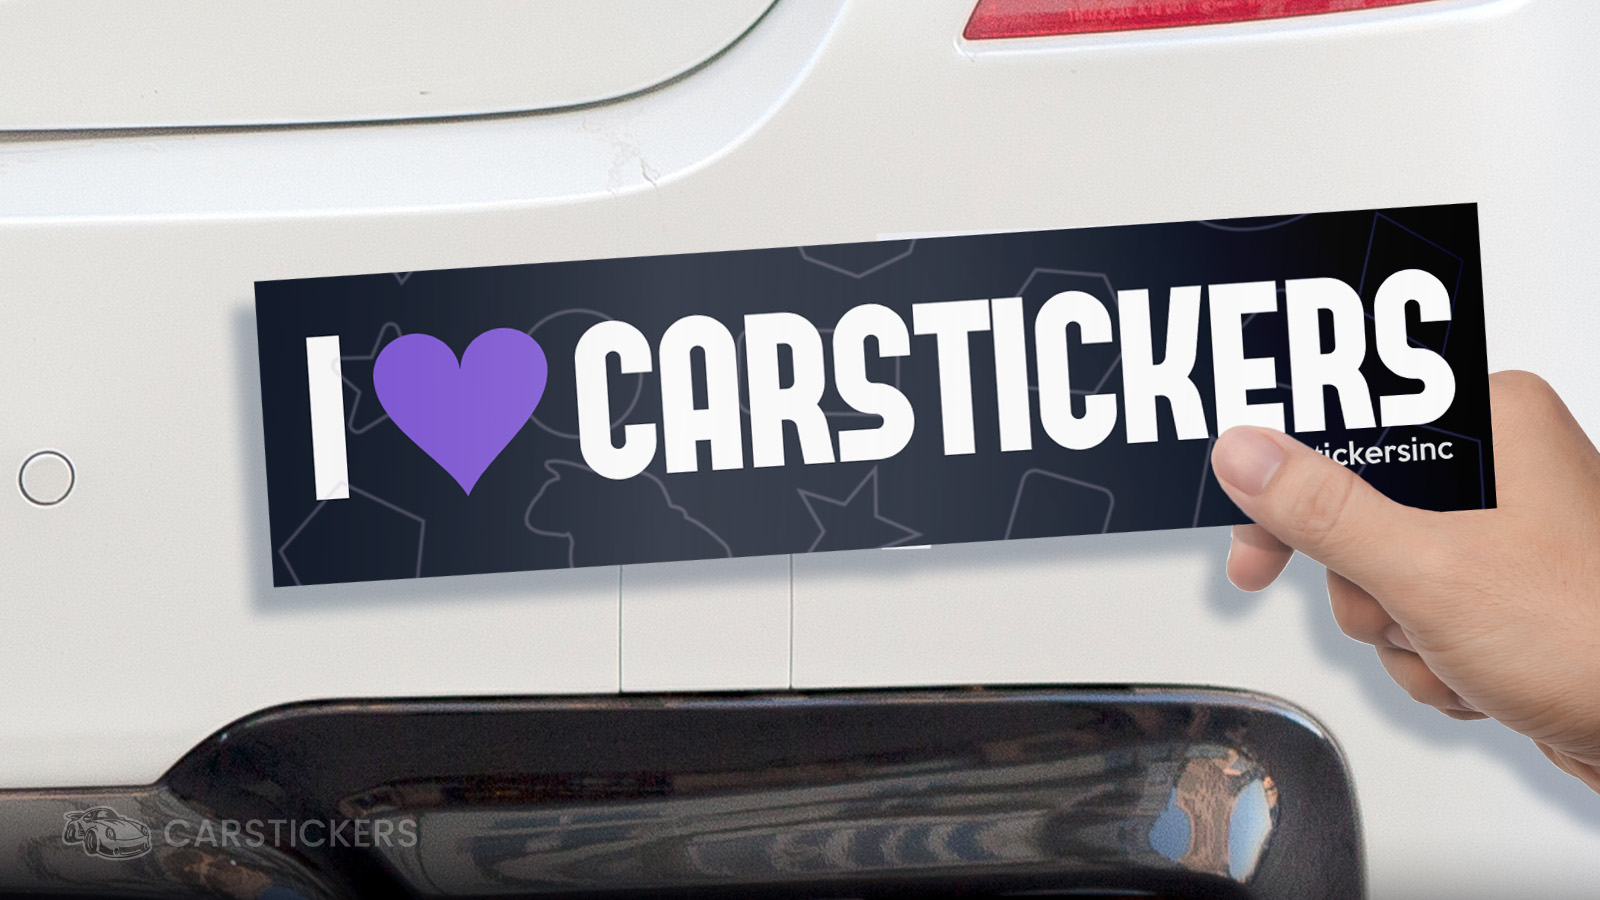
Bumper stickers are timeless. Whether they’re funny, bold, heartfelt, or informational, bumper stickers give people and brands a voice on the road. And they are experiencing a revival with GenZ too. These days, GenZer's can be found easily on the road with their internet culture and meme style bumper stickers. At CarStickers.com, custom bumper stickers remain one of our most popular products—and for good reason. They’re affordable, durable, and endlessly customizable. Even better: our free online design tool makes it easy for anyone to create their own.
Whether you're spreading awareness for a nonprofit, promoting your business, making a political statement, or just sharing a joke to brighten someone’s commute, custom bumper stickers are the perfect vehicle—literally and figuratively. Below, we’ll walk you through exactly how to create yours step-by-step using our design tool. No design experience needed!
Step 1: Pick Your Perfect Material
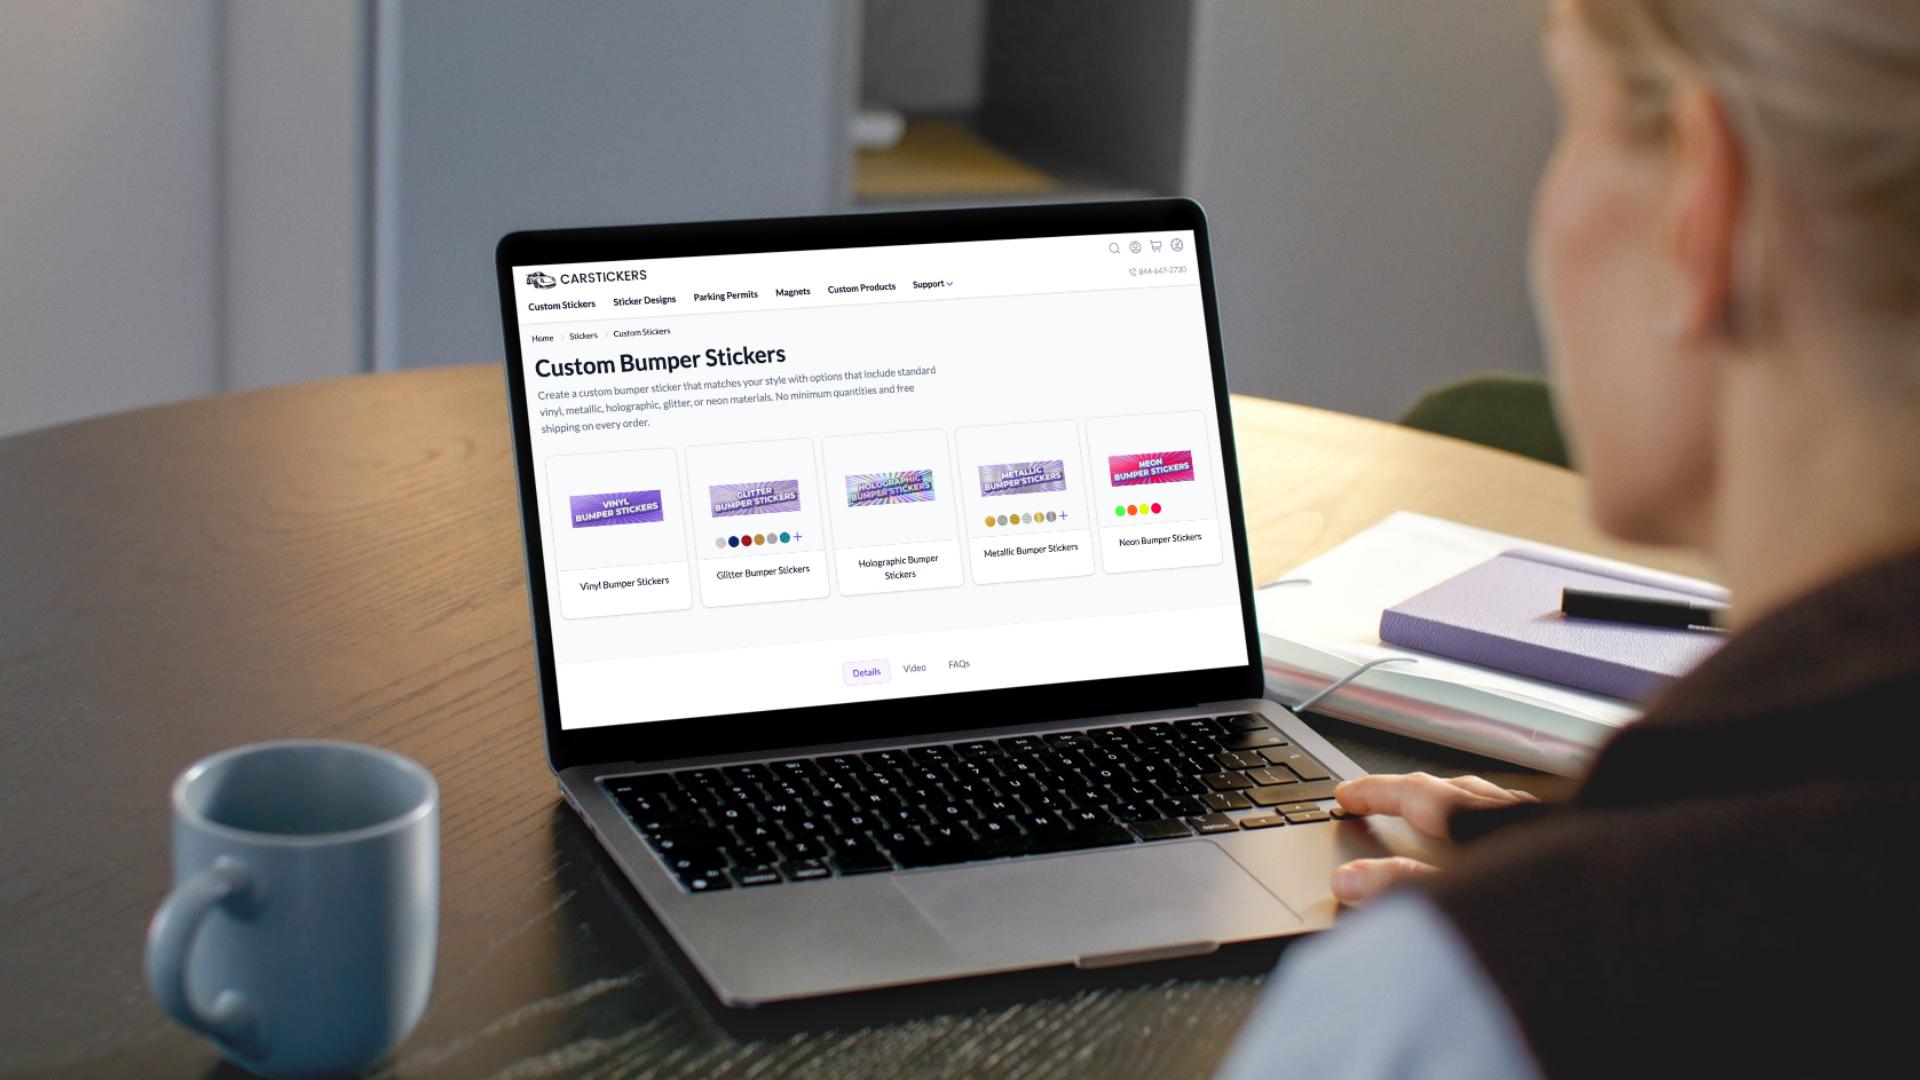
The first step to designing your bumper sticker is choosing the right material. We offer a wide range of premium vinyls and specialty finishes to match any vibe or use case:
- White Vinyl (Standard Adhesive) – Our most popular choice. Flexible, weatherproof, and built to last up to 5 years outdoors. Ideal for curved bumpers and textured surfaces.
- Holographic Vinyl – Flashy and fun. This option creates a rainbow sheen that shifts with light and angle. Great for bold personal statements.
- Glitter Vinyl – For sparkle lovers. Glittery and colorful, with a hint of glam.
- Metallic Vinyl – Sleek and shiny, offering a high-end look for premium brands or modern designs.
- Neon Vinyl – Eye-popping and vivid. Ideal for bold branding or safety messaging. Just note that pink and orange neons are rated for around 6 months of outdoor use.
Need more help choosing? Our Sticker Material Comparison Guide breaks down the pros, cons, and lifespan of each material so you can choose confidently.
Step 2: Choose Your Size and Specs
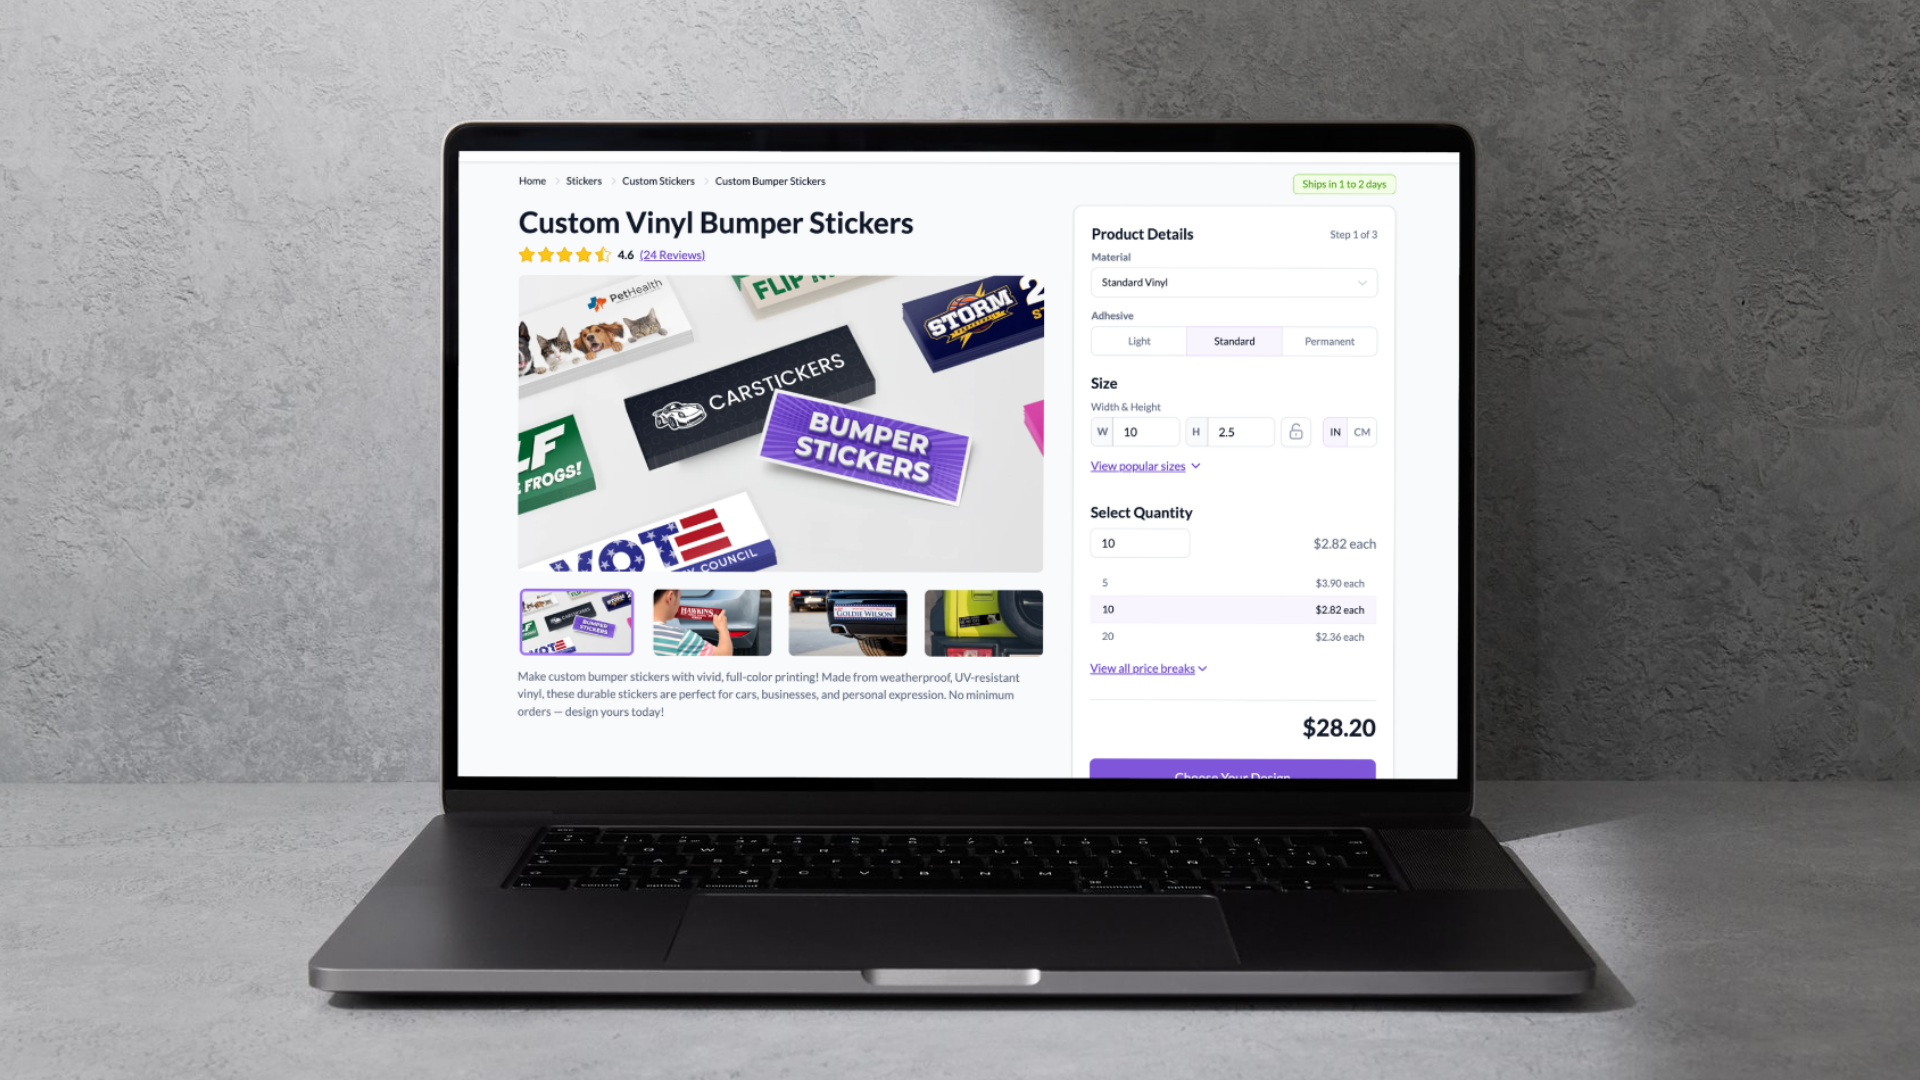
The default bumper sticker size in our design tool is 10" x 2.5"—a tried-and-true format that fits most bumpers without looking too big or too small. However, you're not locked into that! You can adjust the size to match your specific needs, whether you want something subtle or a little more in-your-face.
At this stage, you can also select:
- Adhesive strength (light or standard)
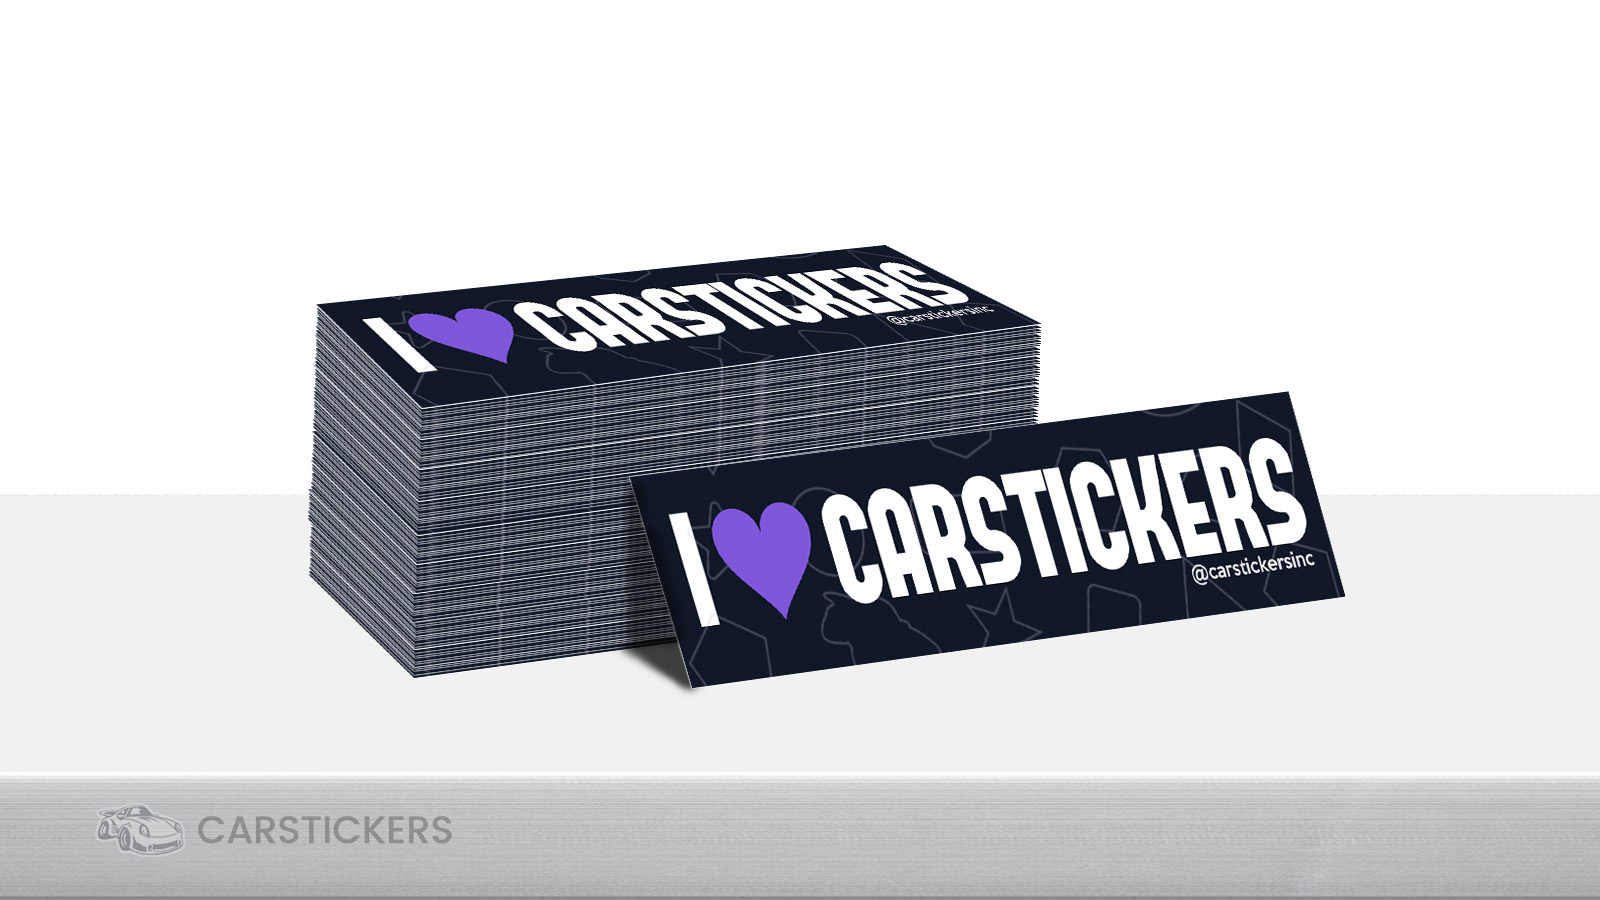
- Quantity – Order one or one thousand
- Shape – Stick with rectangles or opt for custom die-cuts
- Lamination – Choose matte or gloss for added protection and style
If you’re not sure what size or adhesive to go with, think about where your sticker will live and how long you want it to last. For example, light adhesive is great for temporary or removable bumper stickers, while standard adhesive works best for long-term applications.
Step 3: Launch the Design Tool
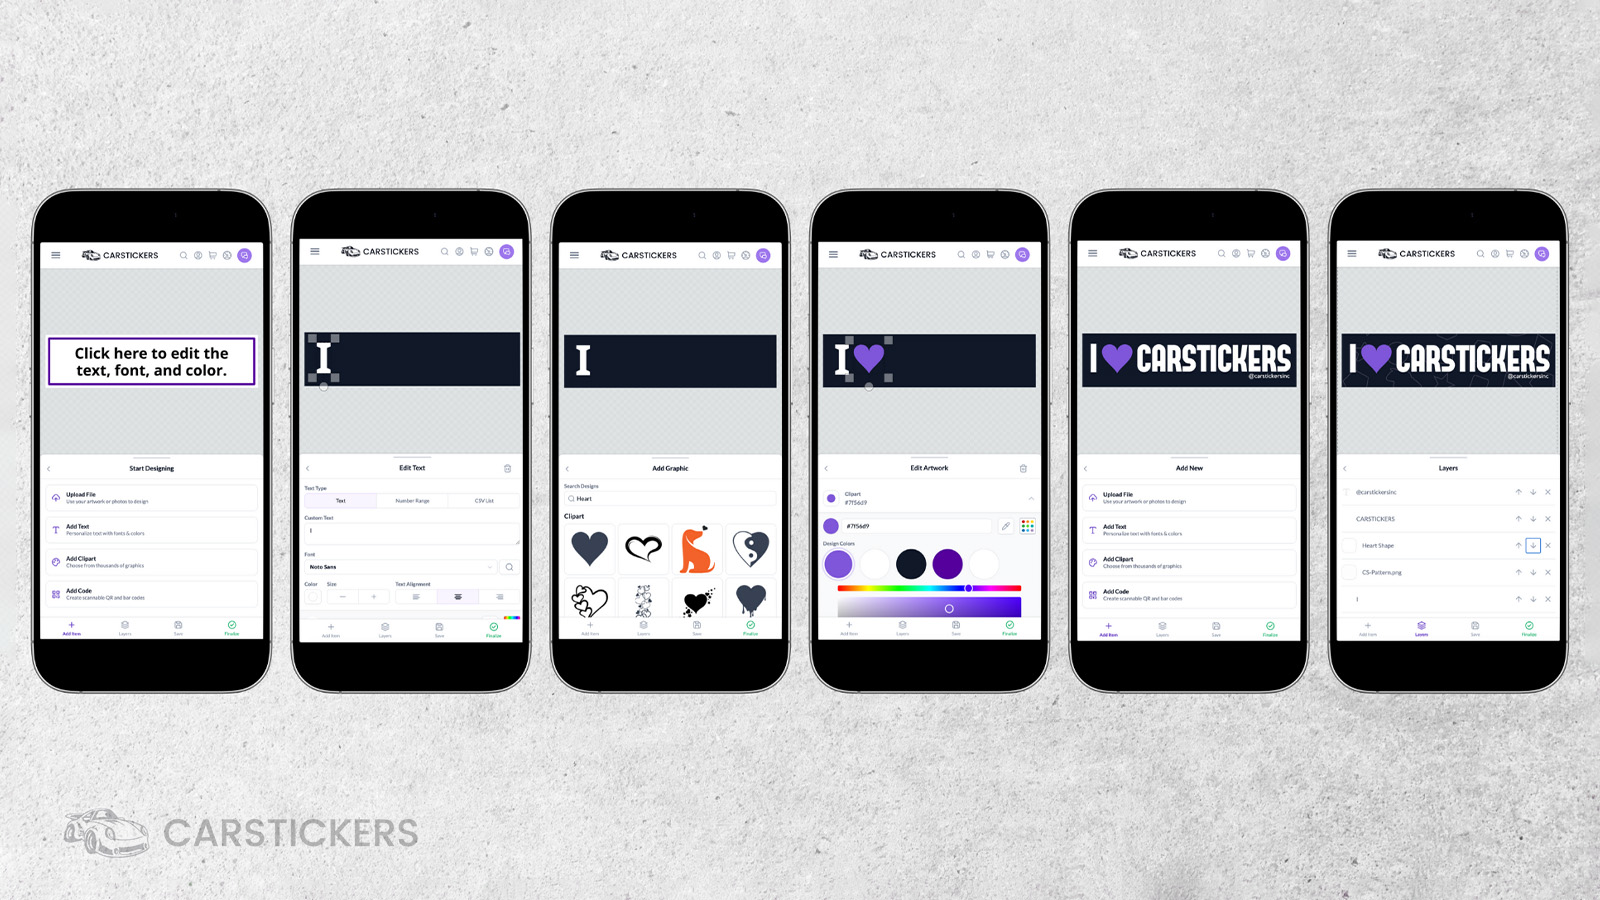
Now it’s time to bring your idea to life. Once you click “Customize,” the design tool opens to a clean, easy-to-use canvas. Here's what you’ll see:
- A bordered rectangle showing your sticker’s shape and size
- A toolbar with “Background,” “Add Item,” “Layers,” and other options
- Preset color tools for backgrounds and borders
The design tool is built to accommodate users of all skill levels. Whether you’re a first-time designer or a seasoned pro, the interface is fast, visual, and intuitive.
Here’s what you can do:
- Add Text: Choose from over 1,900 fonts! Use the magnifying glass icon to search by style (e.g., handwritten, serif, bold).
- Upload Graphics: Upload your own logos, photos, or artwork. We support high-res PNGs, PDFS, and more.
- Use Clipart: Access our library of clipart graphics to enhance your design.
- Add QR or Barcodes: Perfect for linking to websites, product pages, or donation portals.
Use the “Layers” tab to reorder elements (e.g., bring your text above your image or send background graphics to the back). Everything can be dragged, resized, rotated, and fine-tuned.
Pro Design Tips:
- Keep fonts bold and legible from a distance—especially for moving vehicles.
- Limit text to 1–2 punchy lines. Simplicity = readability.
- Use high contrast colors (like white on black or red on yellow) for maximum visibility.
- Check alignment using the built-in grid system.
Step 4: Finalize and Review
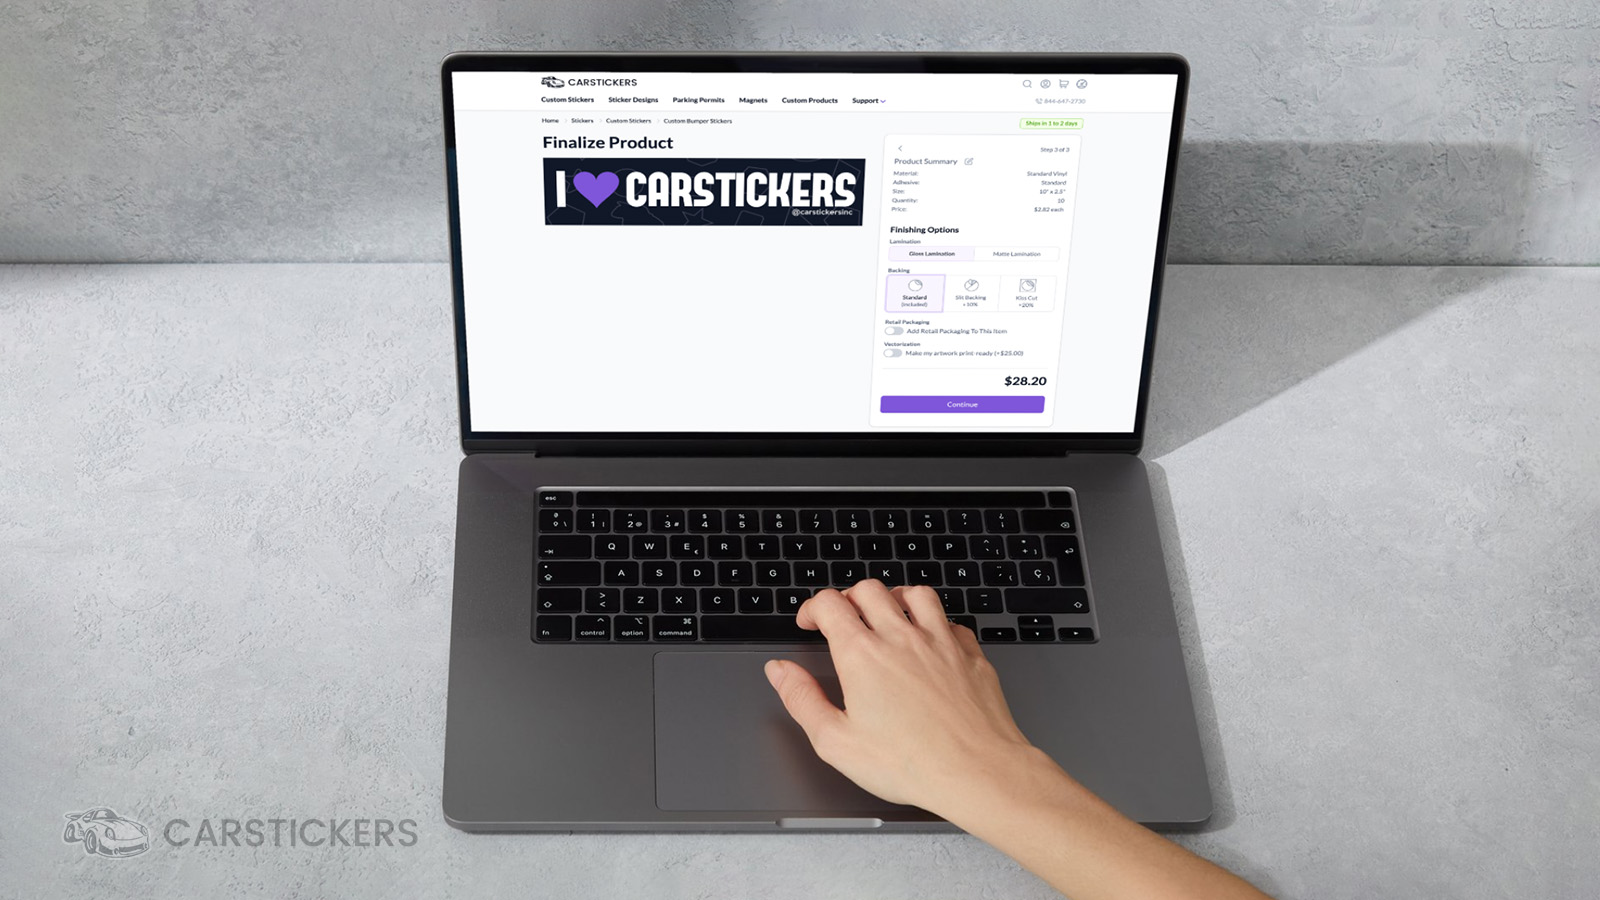
Once your masterpiece is complete, you have a couple of options:
- Save your design – This is ideal if you want to come back later or get feedback from a teammate.
- Finalize – Lock in your design and move on to the order review process.
During finalization, you’ll select your lamination (matte or gloss) depending on your material choice. This step also lets you add helpful options like:
- Slit backing – Makes peeling the sticker off the liner easier.
- Proof request – Want a digital preview before we print? Just ask!
- Special instructions – Leave notes for our production team about placement, color matching, or anything else.
If you skip the proof step, your order goes straight to production—saving valuable time.
Step 5: Place Your Order
Almost there! Once you’ve reviewed your selections and you're happy with the final product, proceed to checkout. Here’s what you can expect:
- Free standard shipping on all orders
- Rush shipping options available at checkout
- Secure payment and fast processing
Your stickers will be printed, laminated, cut, and quality-checked right here in our Oregon facility. We’ve produced millions of stickers for thousands of customers over the years—you’re in good hands!
Ready to Design Yours?
Creating a bumper sticker with CarStickers.com is more than just uploading a file—it’s a chance to express yourself, build your brand, or spread a message. With pro-quality materials, fast production, and an easy-to-use design tool, making your own custom bumper stickers has never been simpler or more fun.
Still not sure which material is right? Want help prepping a design file? Our friendly, US-based support team is always happy to assist. Reach out anytime via chat, email, or phone. We’re here to make sure your bumper sticker turns out exactly how you imagined—or better. We’ve also got plenty of design tips, tutorials, and FAQs to help you every step of the way.
So what are you waiting for? Start designing your custom bumper stickers in our design tool today and make your message stick!


