
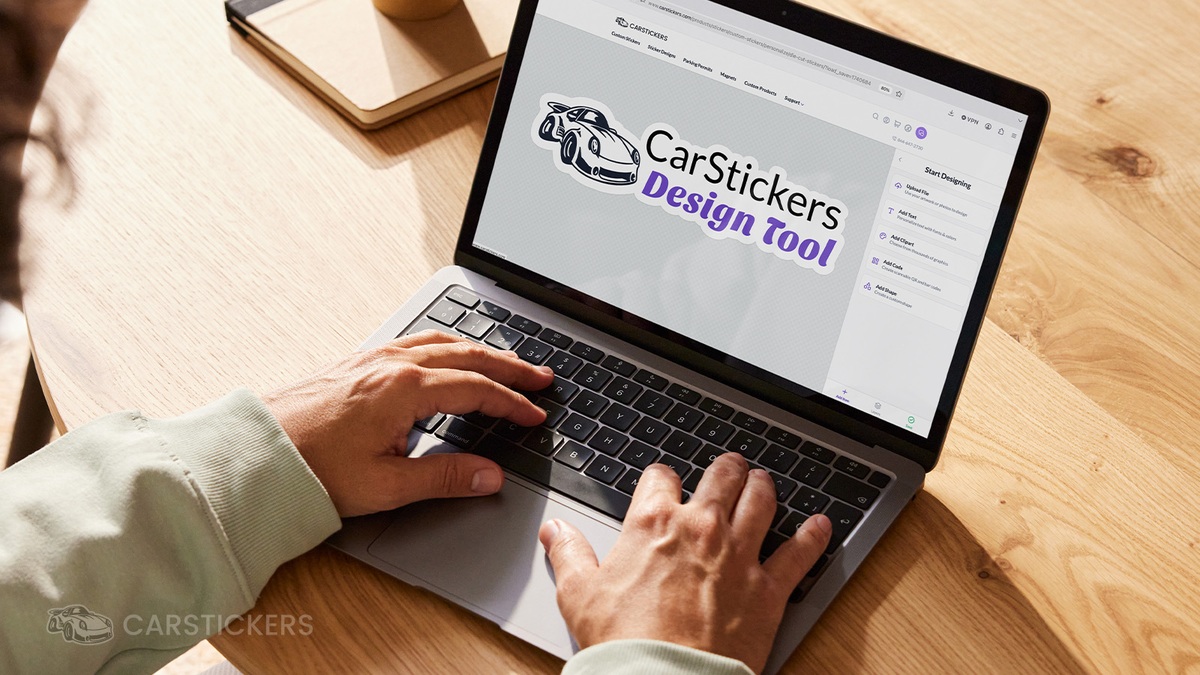
Designing custom stickers online doesn't require professional design software. Whether you want to add a QR code to a finished logo design or create a design completely from scratch, the CarStickers Design Tool makes it easy to build custom stickers, decals, magnets, signs, parking permits, and more—all from your browser.
Our web and design team has worked hard to build a tool that helps our customers create designs for free. We've listened to your feedback over the years and have continued to improve this robust design tool with new features and functionality. And one of the best parts: it's super mobile-friendly! You can design custom stickers online with your desktop computers, laptops, tablets and phones!
In this guide, we'll walk through every feature so you can get the most out of the tool. Now let's build a sticker together using the CarStickers Design Tool!
Starting Your Design
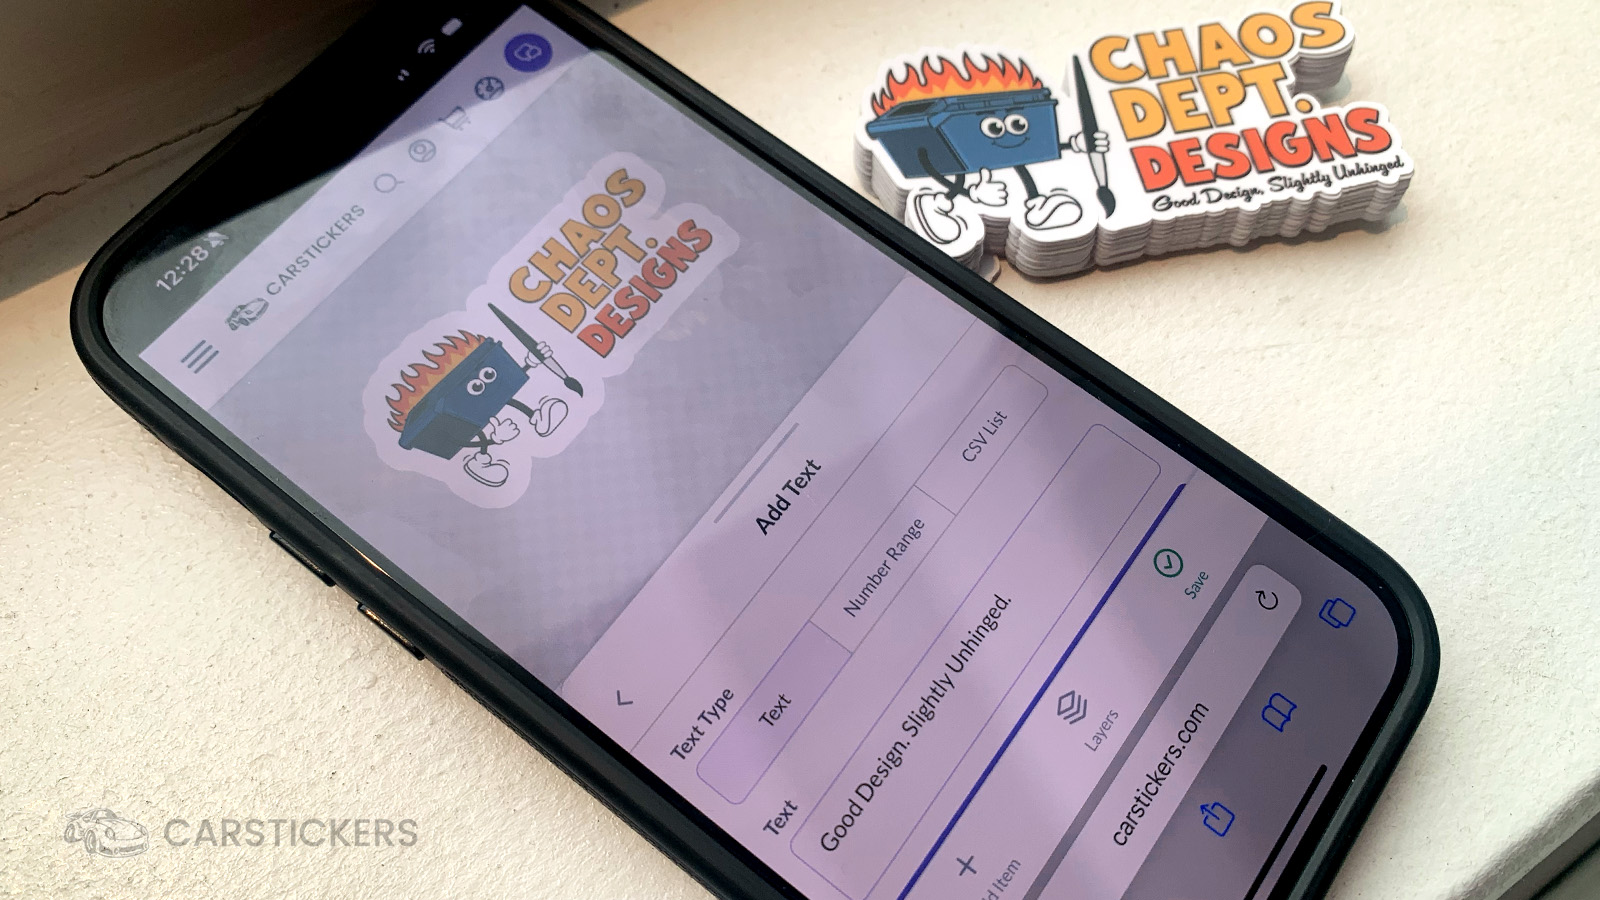
Upload a Design
The Upload File option is perfect if you've already created artwork in another program or received a logo from a designer. We support a wide variety of file types, including vector artwork, layered design files, PDFs, and common image formats.
Start from Scratch
Start New Design is where the magic happens. Whether you're uploading a pre-existing design that you'd like to build upon or starting completely from scratch, this option opens the design tool and gives you everything you need to create your design.
Pro Tip: Creating a free account can save you a lot of time. Your uploaded files and saved designs will be stored in your account, making it easy to reorder products or continue working on designs later.
Getting Familiar with the Design Tool Workspace
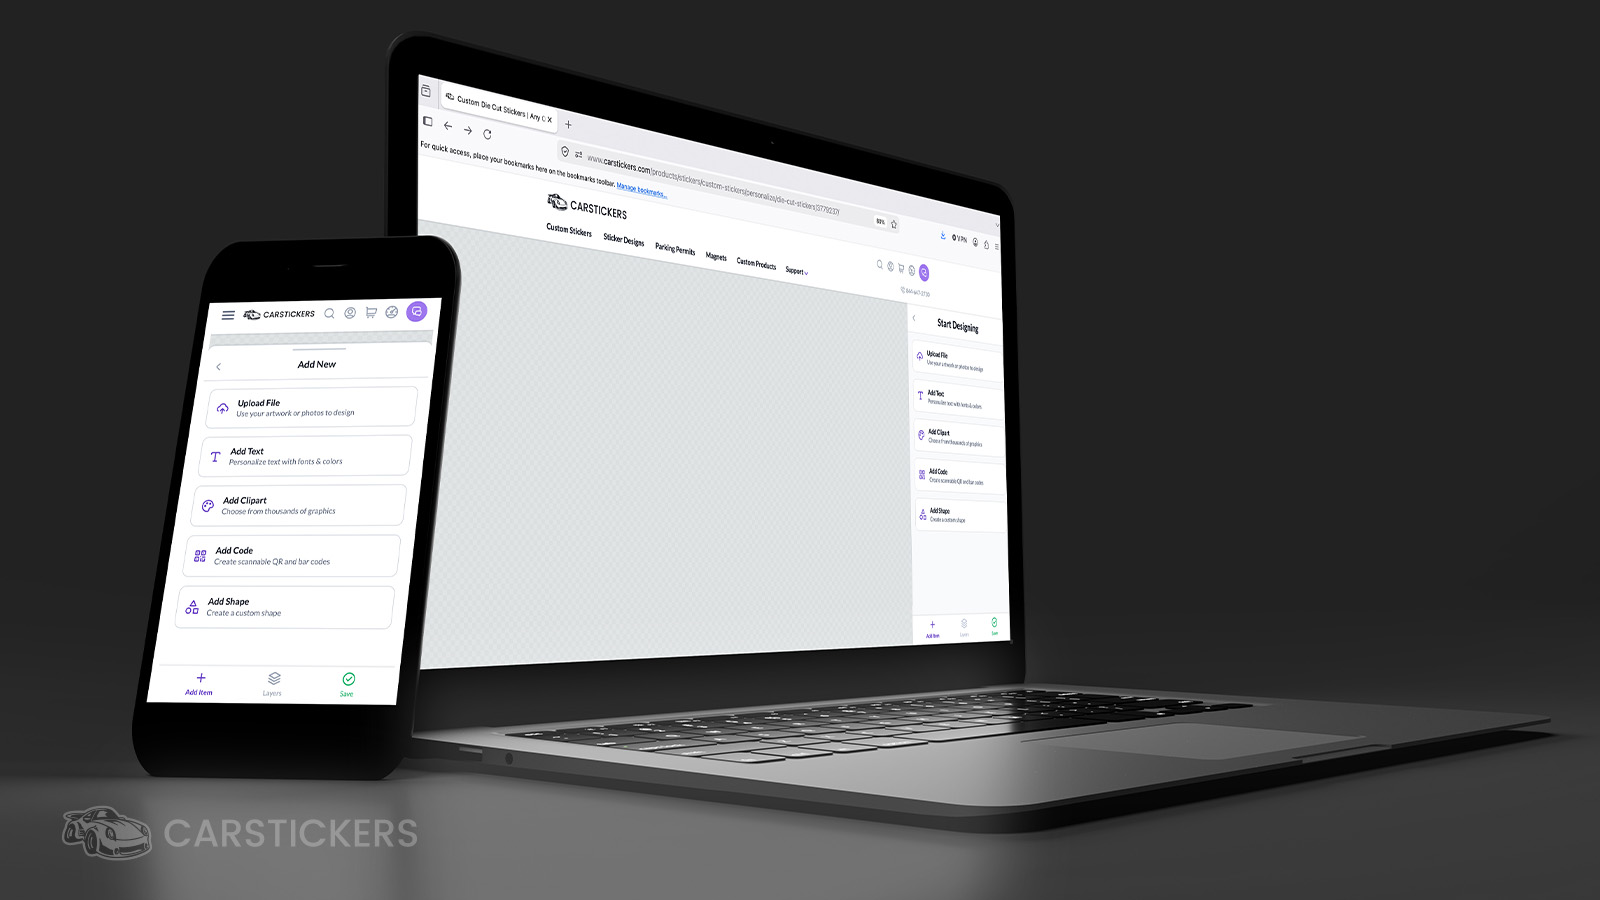
When you open the design tool workspace, you'll find a large working area and a toolbar. If you've used other design programs before, much of the layout will feel familiar.
One thing that's a little different is that you won't be working from a traditional artboard with fixed dimensions. Instead, you'll begin with an open workspace where you can freely build your design.
On the toolbar, you'll see four primary options:
- Add Item – Add artwork, text, clipart, QR codes, shapes, and more.
- Layers – Reorder and organize the elements in your design.
- Data – Edit text, number ranges, or CSV data used in your design.
- Save – Save your work or finalize your design before adding it to your cart.
For this tutorial, we're going to spend most of our time inside the Add Item section since that's where all of the design tools live.
Building Your Sticker Design
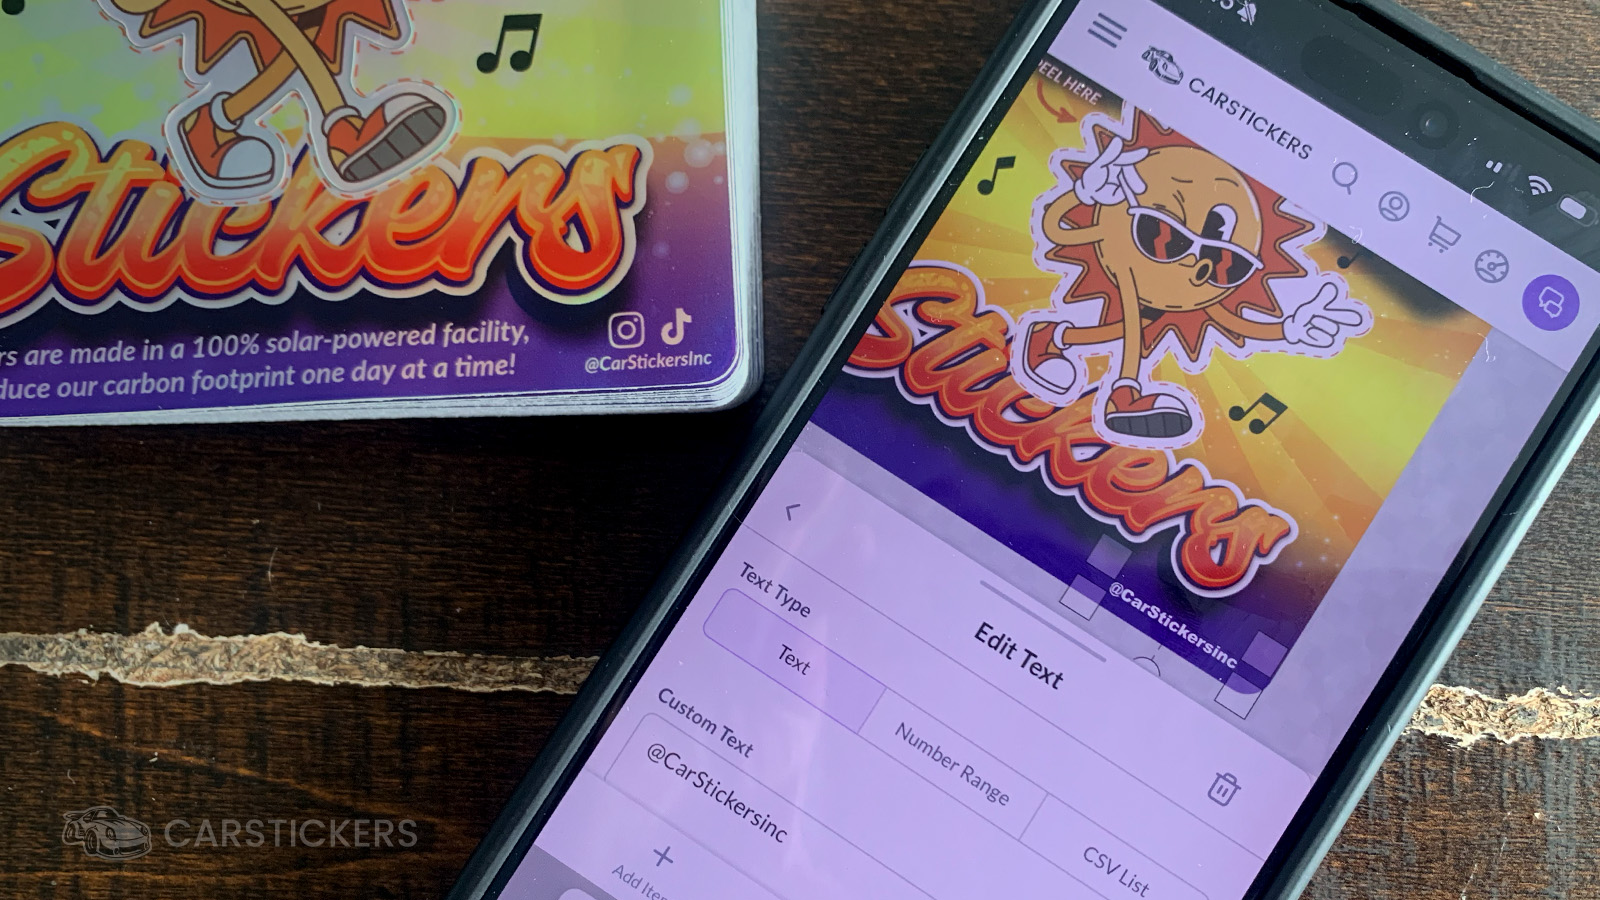
Once you're inside the design tool, you'll find a gray canvas where your design comes to life. On desktop, the toolbar appears on the right side of the screen. On mobile devices and tablets, you'll find it along the bottom.
This is where the fun begins.
Within the Add Item menu, you'll find six different tools that help you build your design from scratch. Let's walk through each one and discuss when it's most useful.
Upload Artwork
This is the most straightforward option. If you already have a logo, photograph, illustration, or other artwork you'd like to use, simply click Upload File and choose your file.
Our design tool supports the following file types:
PSD, PDF, AI, EPS, SVG, TIF, PNG, JPG, GIF, BMP, WEBP, HEIC, and AVIF.
If you're logged into your account, you'll also have access to the Previous Files tab. This makes it easy to reuse logos, artwork, and previously uploaded graphics across multiple orders.
Pro Tip: If you use your company logo often, create a free account so it stays in your Previous Files library. It saves a lot of time on future orders.
Add Text
The Add Text tool lets you add standard text, number ranges, or CSV lists depending on your project.
To add regular text, simply type your message into the text field and click Add Text. Once your text appears on the canvas, the editing panel opens with a variety of customization options.
First, you can choose your font. We offer a selection of popular fonts, but if you don't see exactly what you're looking for, simply click the search bar to access our font library containing thousands of fonts.
You can browse by:
- Font classifications like Sans Serif, Script, and more.
- Style tags like Business, Artistic, and other descriptive categories.
You can also favorite fonts for future projects or simply click Select Font once you've found the perfect one.
Once your text has been added, you'll be able to customize it using the Edit Text panel.
- Color – Change your text color.
- Size – Increase or decrease the size of your text.
- Text Alignment – Left, center, or right align your text.
- Text Arc – Create curved text above or below your design.
- Proportions – Lock or unlock your text proportions while resizing.
- Alignment – Align your text with other elements in your design.
- Layer Position – Move your text forward or backward within your design.
- Border – Add an outline around your text or design.
- Duplicate – Instantly create a copy of your text.
Pro Tip: Dark text with a border is usually easier to read from a distance, making it a great choice for parking permits, window decals, and identification stickers.
Number Ranges
The Number Range option makes it easy to create sequential numbering for products like custom parking permits, hang tags, or asset labels.
Simply enter your starting and ending values, then customize the font, colors, size, and alignment. You'll immediately see how your numbered design will appear on the canvas.
If you've ever searched for a parking permit generator, this feature was built with you in mind.
CSV Lists
The CSV List option is perfect when you have a spreadsheet containing names, numbers, or other variable data.
Popular uses include:
- Parking permits
- Name tags
- Employee badges
- Serialized decals
- Variable data labels
Simply upload your CSV file and the design tool will automatically generate your personalized products.
One of our recent updates also allows you to edit your CSV directly within the design tool, making it much easier to make last-minute changes without editing the original spreadsheet.
Design Tool Note: If your design elements are touching and you've enabled the border feature, the design tool will automatically group those elements together and generate one continuous die-cut border around your entire design.
Clipart
The Add Clipart feature gives you access to thousands of clipart graphics that can be added directly to your design.
Whether you're looking for hearts, animals, holiday graphics, food, space-themed artwork, or decorative icons, there's a huge library to browse. You can search by category or simply type what you're looking for into the search bar.
This is also a great way to add social media icons to your design. We have icons for many popular social media platforms, making it easy to add your social handles to stickers, decals, business packaging, or promotional materials.
QR Codes
We have a built-in QR code generator that makes adding scannable codes to your designs incredibly easy. You can access this in two different ways. You can open up the die-cut stickers page, enter the design tool and add a QR code under the 'Add Code' section. You can also generate QR code stickers with QR code templates that we have built with popular styles.
QR codes are perfect for:
- Business cards
- Sticker sheets
- Kiss cut stickers
- Product packaging
- Event materials
- Marketing stickers
Simply choose the Add Code option and select QR Code. You can generate QR codes for:
- Website URLs
- Contact information
- Plain text
- Custom data
Once you click Add to Design, your QR code is automatically generated and placed onto your design.
The design tool also displays the size of your QR code, which is important since QR codes that are printed too small can become difficult to scan. We recommend keeping your QR codes large enough that they can be easily scanned by most mobile devices.
If you ever need to update the destination, you can simply edit the QR code directly within the design tool.
Bar Codes
In addition to QR codes, our design tool also includes a built-in barcode generator.
This feature is especially useful for businesses that sell products in retail stores. Instead of applying barcode labels after your stickers arrive, you can incorporate the barcode directly into your design before printing.
This works particularly well for kiss cut stickers and sticker sheets where there is extra space available for retail information.
The design tool supports several barcode formats, including:
- CODE 39
- CODE 128
- PZN
- EAN-13
- EAN-8
- JAN
- ISBN-13
- ISBN-10
- ISSN
- UPC-A
Just like the text tool, barcode data can be entered as:
- Single text values
- Data ranges
- CSV lists
If you already have a spreadsheet containing your barcode information, simply upload the CSV file and click Add to Design.
Shapes
The Add Shape feature allows you to build custom backgrounds and design elements directly within the editor.
You'll begin with four basic shapes:
- Ellipse
- Polygon
- Rectangle
- Star
These are only the starting point. Every shape can be resized, stretched, rotated, recolored, and customized.
Depending on the shape you choose, you'll also have options to:
- Add or remove points
- Adjust corner radius
- Edit colors
- Resize proportionally
If you select Edit Points, circles will appear on the corners along with rounded handles on the sides. You can click and drag these handles to create your own custom shape.
Pro Tip: The Shape tool is a great way to build custom backgrounds for kiss cut stickers, sticker sheets, labels, and promotional decals.
Tips & Tricks for the Design Tool
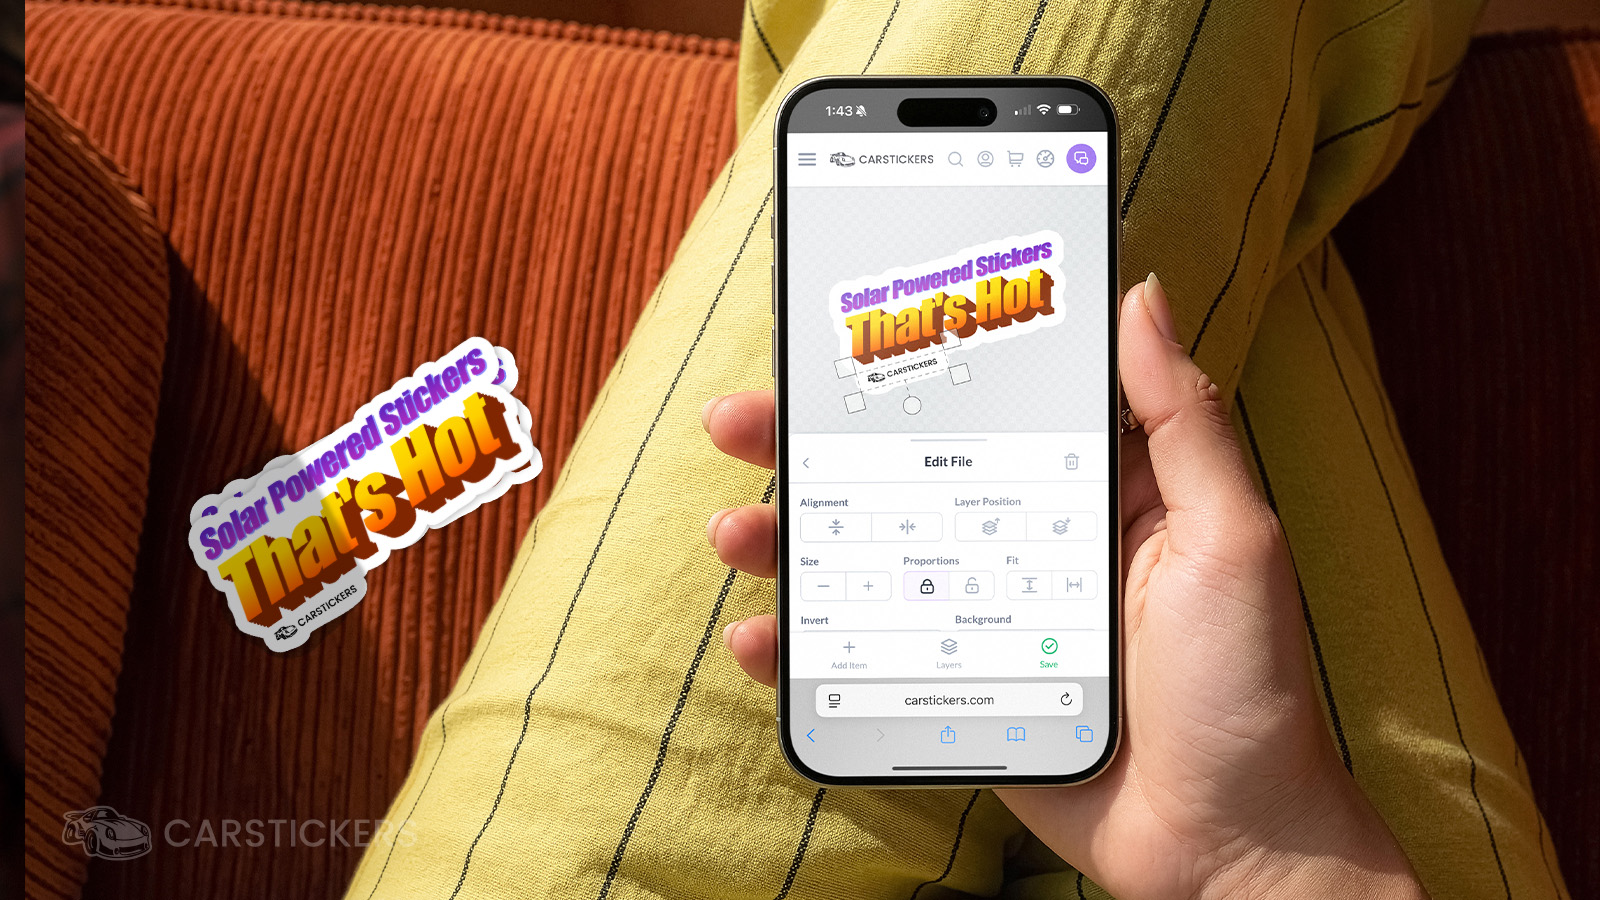
Here are a few features that can help speed up your workflow and make designing with our free online sticker maker even easier.
- Borders – The Border feature creates an offset cut line around your design. You can also customize the border color to better complement your artwork.
- Grouping – When elements are touching, the design tool can combine them into a single die-cut shape instead of creating separate cut lines around each object.
- Design Colors – When choosing colors for text, clipart, or shapes, click the color swatch to open your Design Colors. The tool automatically detects colors already present in your artwork and suggests complementary shades, tints, and tones. You can also enter HEX color codes for precise branding.
- Duplicate – Every editing panel includes a Duplicate button that lets you instantly create copies of text, shapes, clipart, or other design elements.
- Layer Ordering – Easily move design elements forward or backward using the Layers panel to keep everything organized.
Saving & Finalizing Your Sticker Design
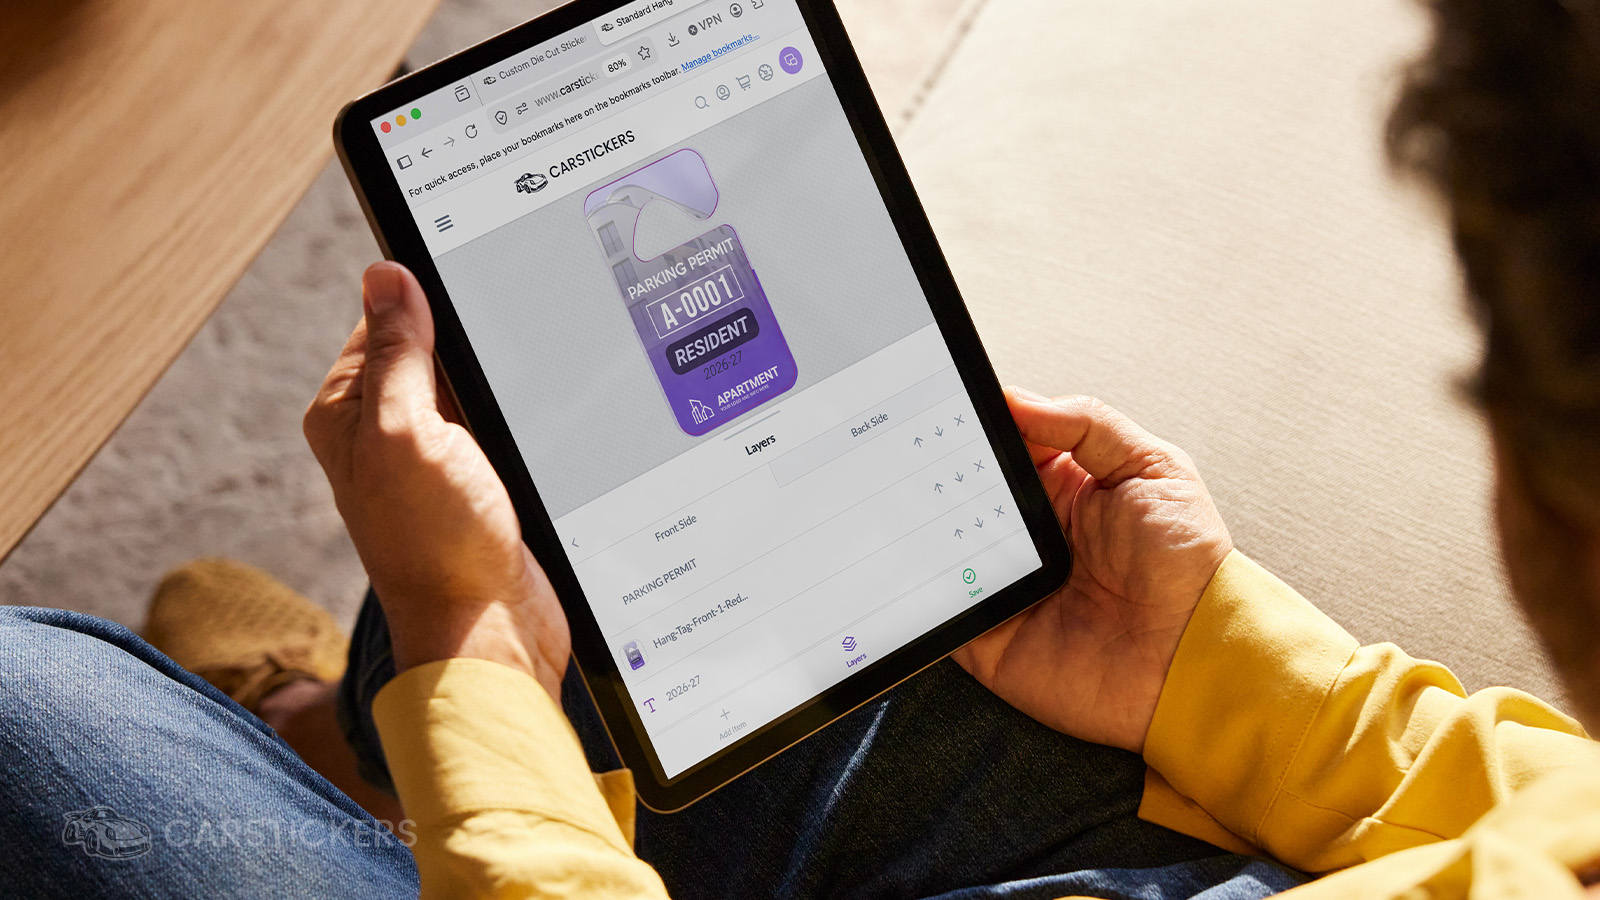
Once you're happy with your design, it's time to place your order.
If you need to pause, gather team feedback, or simply aren't ready to order yet, you can save your progress and return later.
When saving your design, you'll be prompted to give it a name. Once saved, it will be stored in your account for future editing or reordering.
Note for designers: You can also save your design from the design tool as a low-resolution PNG. This is especially helpful if you need to send a proof to a client or teammate for approval before placing an order.
When you're ready to purchase, simply click Finalize Design. You'll be taken to the product page where you can choose your final product options and add your design to your cart.
If you'd like to continue editing a saved project later, simply return to the product page, select Choose Your Design, and then click Continue Editing a Saved Design.
Your saved project will reopen exactly where you left off.
Ready to Start Designing?
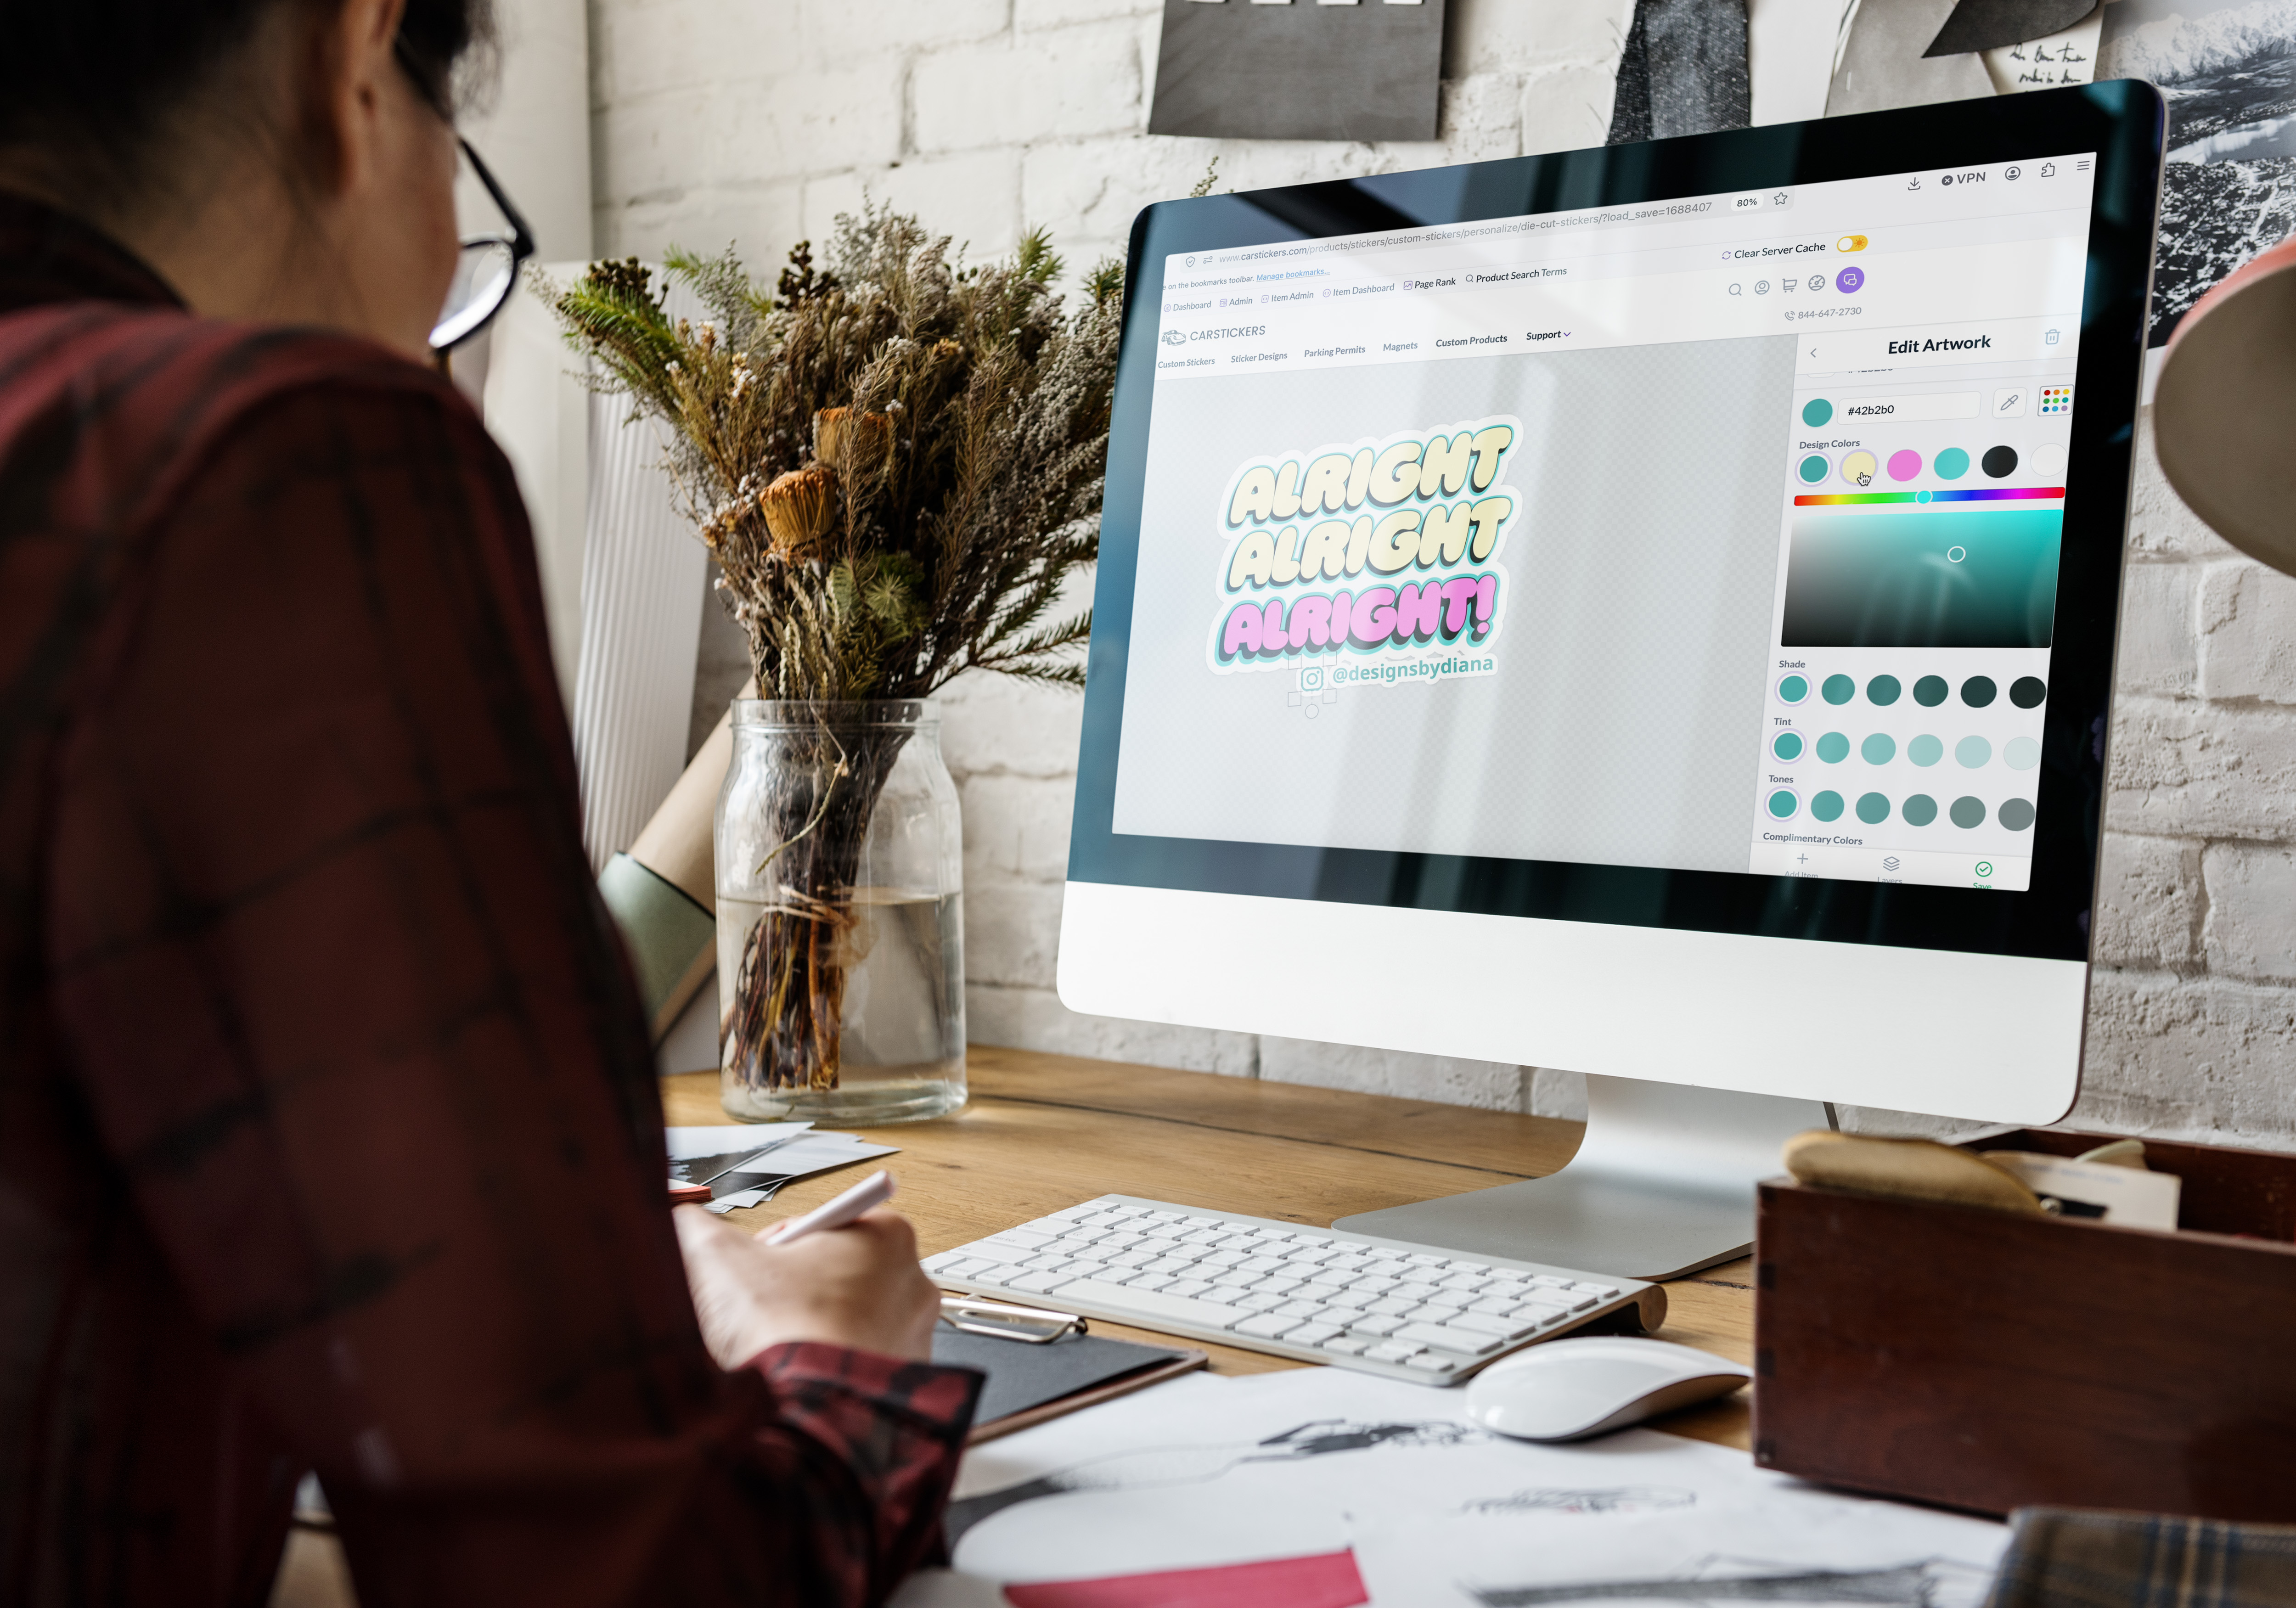
Now that we've walked through the CarStickers Design Tool, you're ready to create custom stickers online without graphic design software. You can generate QR codes and barcodes, build parking permits, personalize products with text, upload your own artwork, and much more.
Whether you're creating a single sticker or thousands of serialized parking permits, the design tool was built to make the process as easy and intuitive as possible.
Happy sticker designing!
If you ever have questions about using the design tool, our customer service team is here to help. Give us a call, send us a chat, or email us Monday through Friday from 7:20 AM to 4:00 PM PST.


