
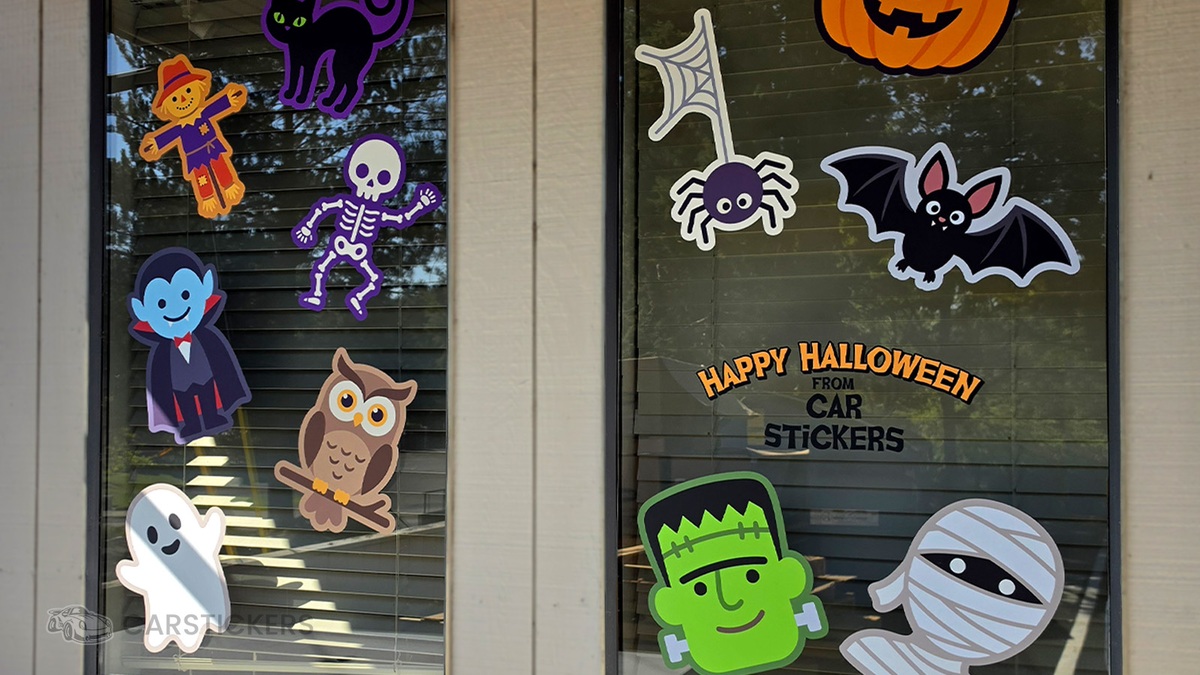
A seasonal storefront refresh does not have to mean rebuilding your entire window display. A set of well-planned Halloween graphics can change the look of your storefront for the season while keeping your existing branding visible. Custom Printed Transfer Decals are our favorite to use for a window display. This type of decal has a full color print but no background, allowing parts of the window to still show through.
The installation itself can also be content for your next social media post. A before, application, and after sequence gives you an easy video option for Reels, TikTok, Stories, or other short-form content. Process and tutorial videos are great for sharing on social media and an awesome way to connect with your viewers and customers. Consider discussing seasonal updates while you work on the install to let them know what's coming for your shop this season!
Printed transfer decals are easy to order and easy to apply. Let's get into the details.
Start by planning the whole window, not just the decals
Before you order, measure the glass and decide how the finished display should work from the sidewalk. Note the width and height of each window pane, the spacing between panes, doors or frames that interrupt the layout, and anything that needs to remain easy to read, such as your hours, logo, or existing signage.
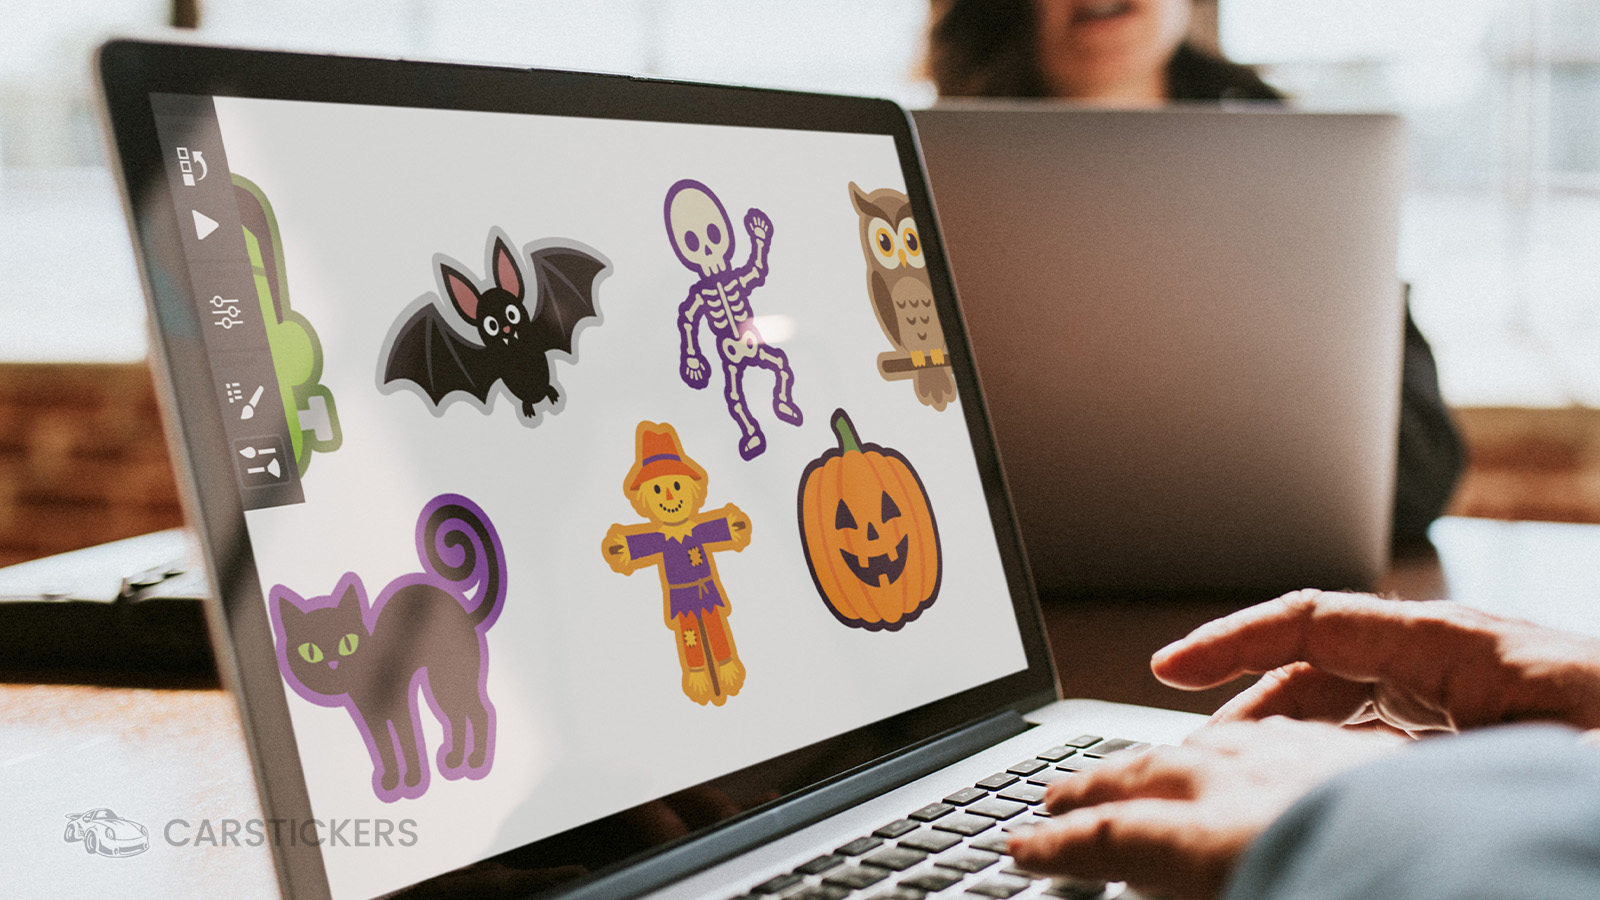
A quick mockup can save you from guessing later. Use Canva, Affinity, Photoshop, or another design program to place your artwork over a photo or simple drawing of the storefront. You do not need a perfect architectural rendering. The goal is to confirm scale, spacing, and balance before production.
- Decide which elements should be visible from farther away and which can be smaller supporting details.
- Keep important artwork away from window frames and door hardware.
- Leave enough open glass that the display still feels intentional rather than crowded.
- Check how the design will look from the direction most customers approach the store.
For standard Printed Transfer Decals, also plan for an exterior-facing application when the artwork needs to read correctly from outside. Standard Printed Transfer Decals are not reverse printed or front adhesive, so they are not designed to be mounted inside the glass and viewed normally from the street.
If you would prefer inside application, we do offer inside application clear stickers, and inside application for one color transfer decals. Check out our Inside Application Stickers blog to learn more about inside application stickers and their best use cases.
Create or upload your Halloween artwork
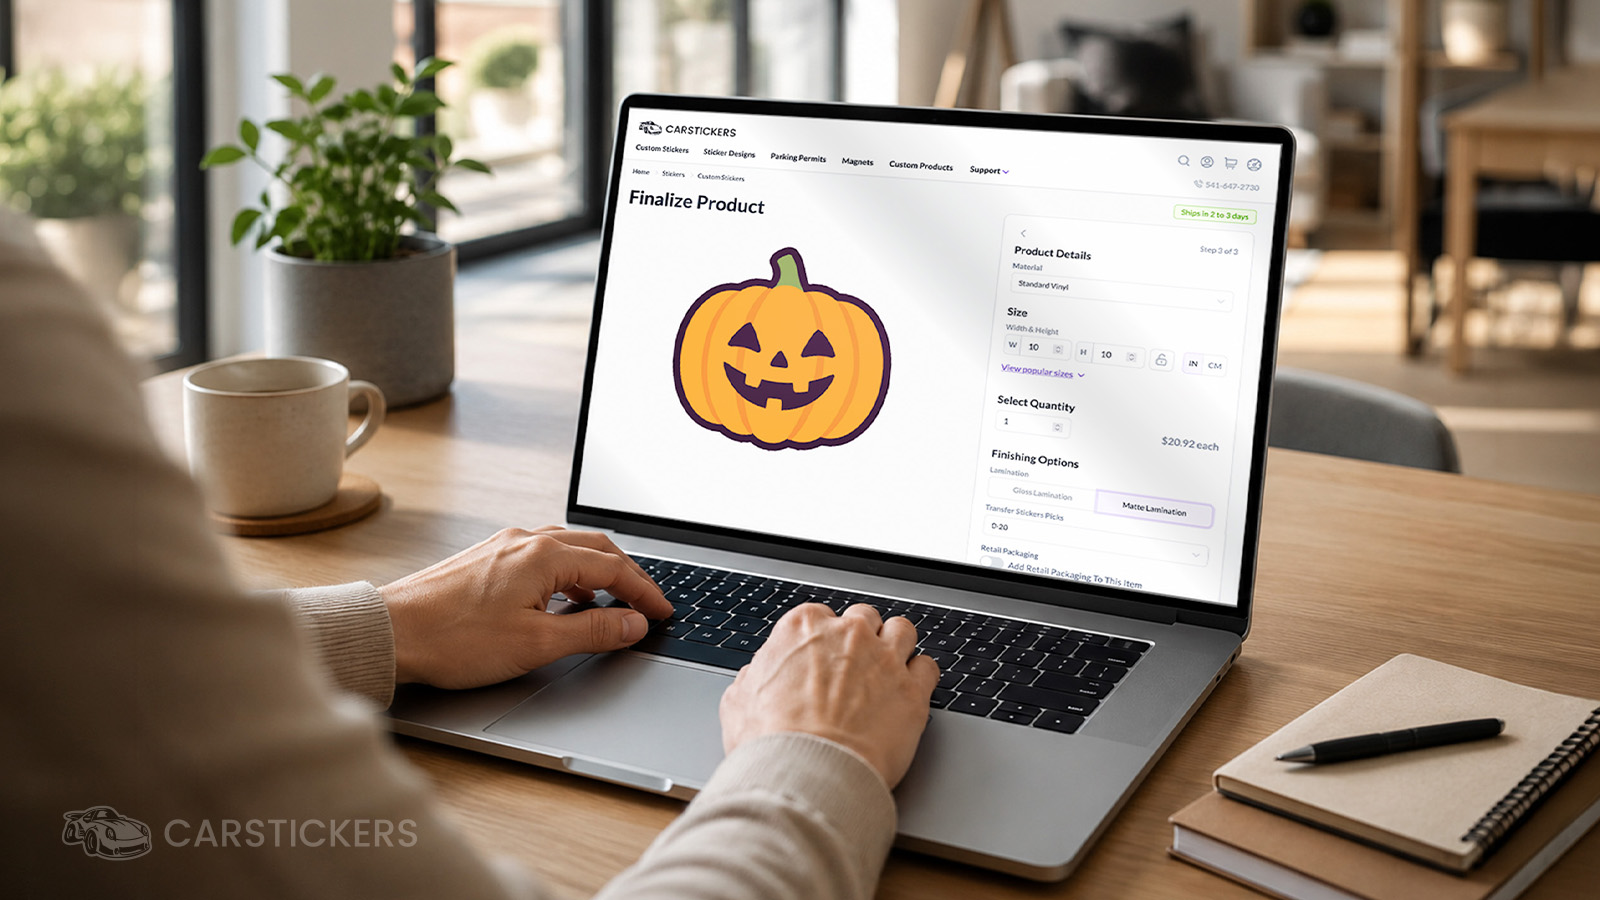
Once the layout is mapped out, you can prepare the individual graphics. If you already have finished Halloween artwork, logos, illustrations, or seasonal typography, upload those designs when ordering. If you want to build the artwork online, the CarStickers Design Tool can be used to add text, clipart, shapes, uploaded graphics, and QR codes.
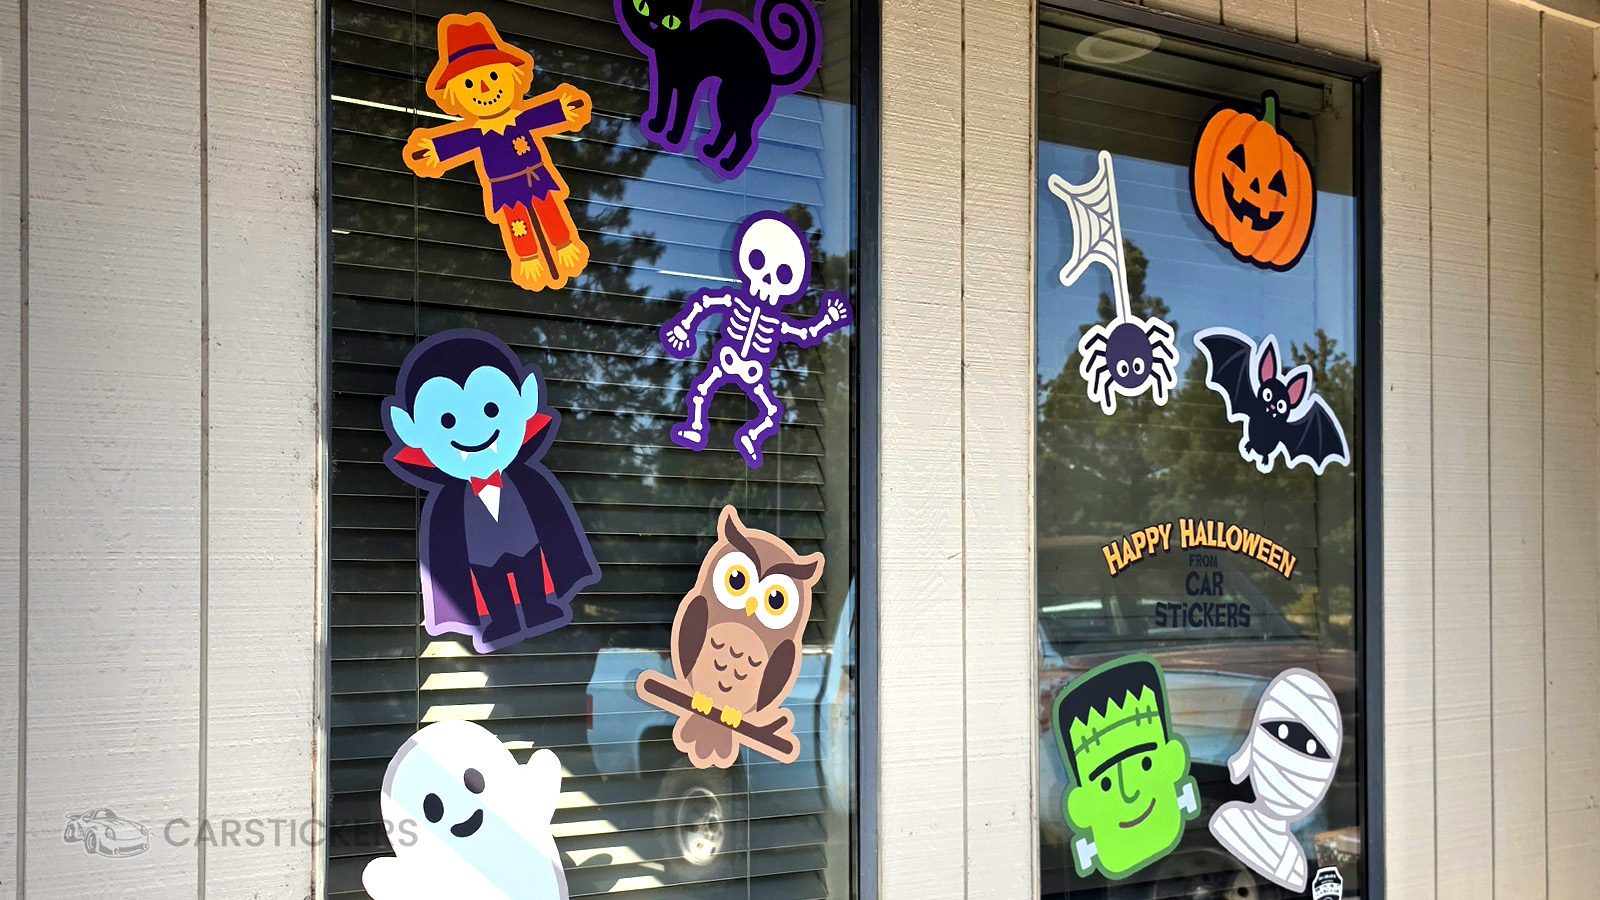
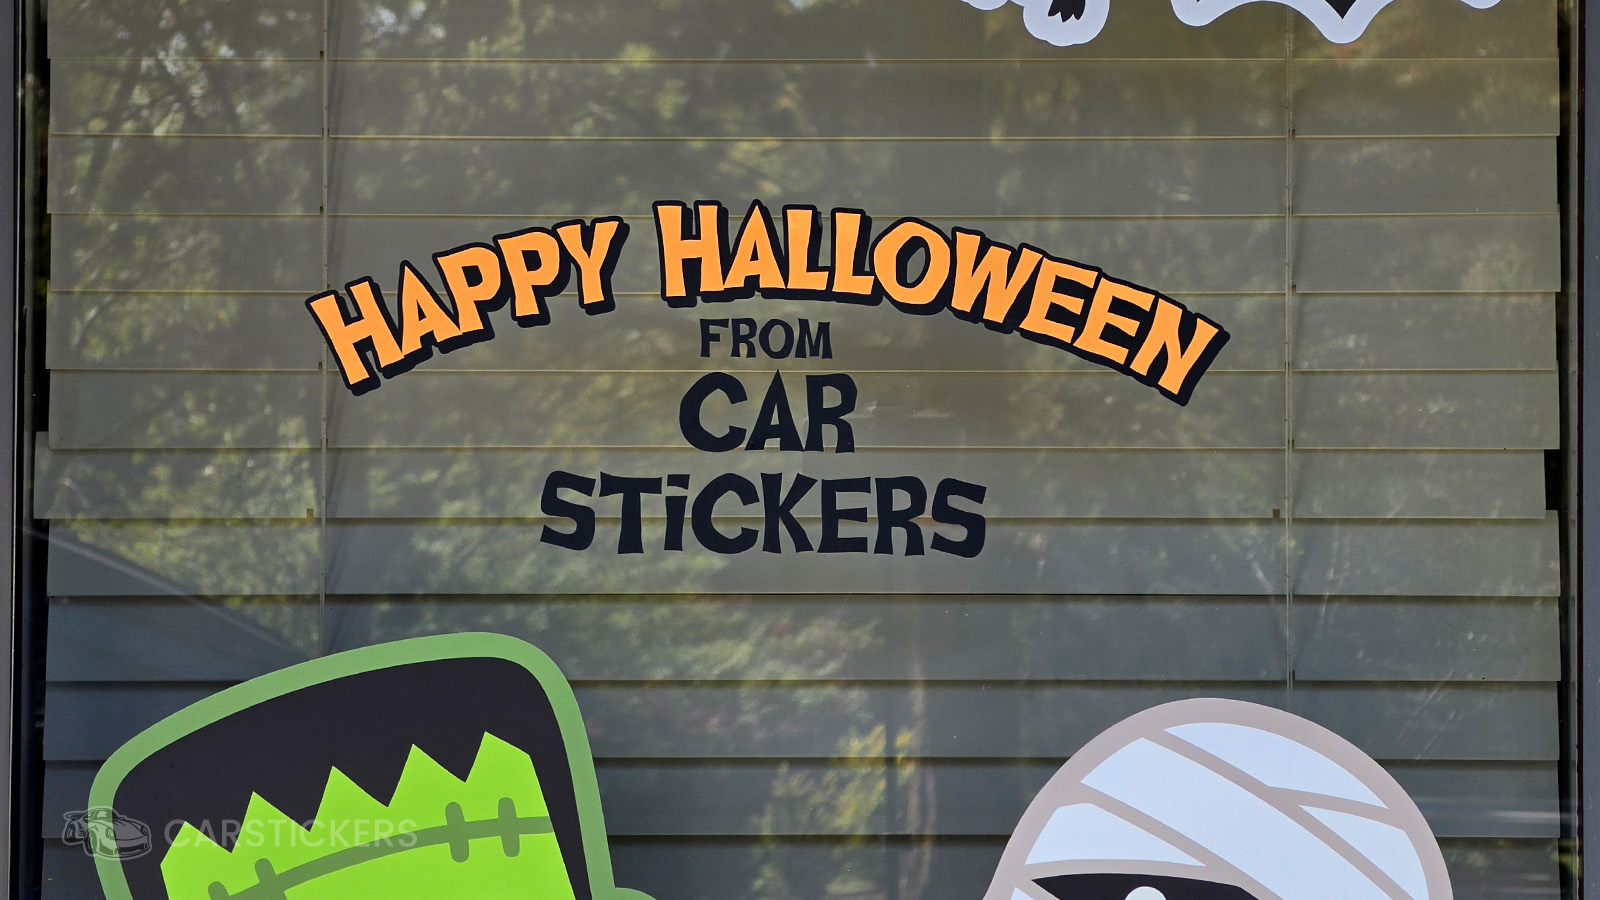
For a storefront, think in terms of a coordinated group rather than one oversized graphic. Bats, ghosts, pumpkins, lettering, borders, or other seasonal elements can be spaced across multiple panes while still reading as one display. Full-color Printed Transfer Decals let you use multiple colors, gradients, shading, and detailed artwork while keeping the finished look background-free.
If you add a social handle, website, or QR code, make it part of the layout rather than an afterthought. Place it where someone can comfortably stop and read or scan it. For QR codes in particular, keep the design large and uncluttered enough to scan reliably, and test it at the intended viewing distance before ordering.
Why Printed Transfer Decals work well for storefront graphics
Printed Transfer Decals combine full-color printing with the application style of a transfer decal. The artwork is printed on white vinyl, laminated, cut, and weeded so the unwanted material around the design is removed. Transfer tape is then applied over the finished graphic to keep separate pieces aligned during installation.
After the decal is installed and the transfer tape is removed, only the printed artwork remains on the glass. That gives you a cleaner, more integrated look than a traditional printed sticker with a visible background shape around the entire design.
CarStickers laminates Printed Transfer Decals before finishing, with gloss or matte laminate available. The laminate adds a protective layer that helps protect the printed artwork from UV exposure, moisture, and scratches. For a storefront display, that means the graphics are built to handle more than a one-day indoor event, while still being removable when it is time to change the window again.
How to apply larger transfer decals to a storefront window
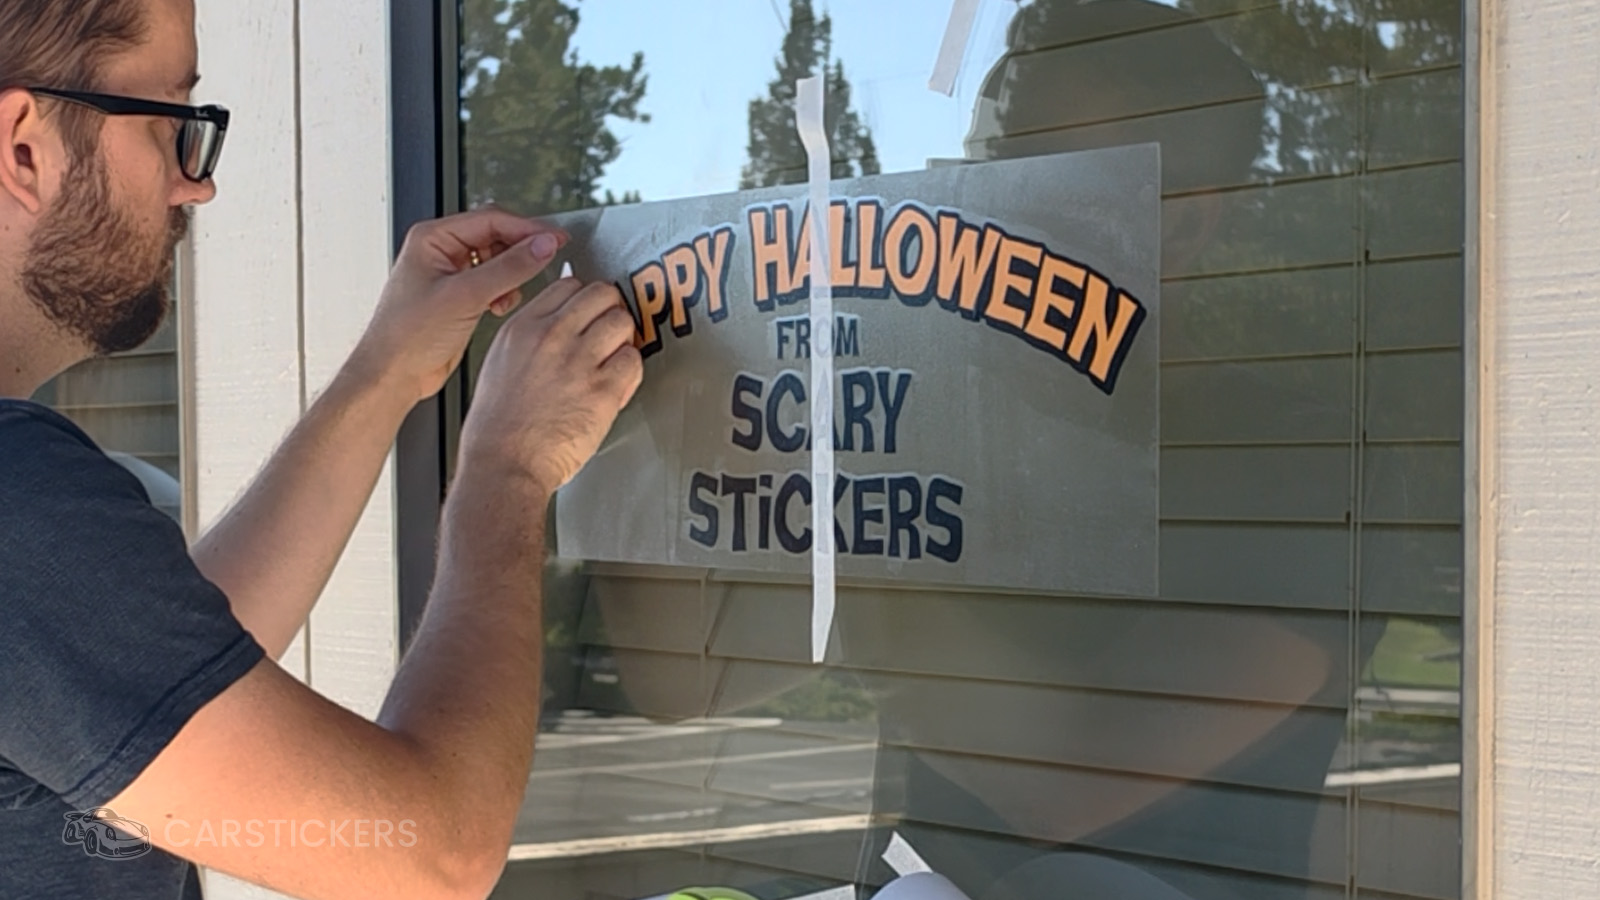
Large graphics take more planning than a small sticker, so give yourself room to work and avoid rushing the installation. Start with a clean, dry window. Soap and water or rubbing alcohol can be used for surface preparation; avoid glass cleaners that may leave residue behind.
- Prepare the decal. Before removing the backing, firmly rub a squeegee or plastic card across the transfer tape. This helps the vinyl stay attached to the transfer tape and smooths out any air that may have formed during shipping.
- Position the design first. Hold the decal in place and use masking tape along the top edge to secure the position. Step back and check the alignment from outside the storefront before committing.
- Remove the backing carefully. Lift the decal while keeping the taped position in place, then peel away the white paper backing. If the layout is especially large, work in manageable sections where the design allows.
- Lower and squeegee the decal into place. Bring the decal down slowly and press it firmly with a squeegee or plastic card, working from the upper middle toward the outer edges so trapped air can move out.
- Give the vinyl time to bond. For best results, wait 24 hours before removing the transfer tape.
- Remove the transfer tape slowly. Peel the clear transfer tape back at an angle rather than pulling it straight away from the glass. If any part of the decal starts to lift, lay the tape back down and squeegee that area again.
Repeat the process for the remaining pieces in your layout, checking spacing as you go. If your display uses several decals across multiple panes, installing from one side of the storefront to the other can help you keep the overall composition consistent.
Film the transformation while you install
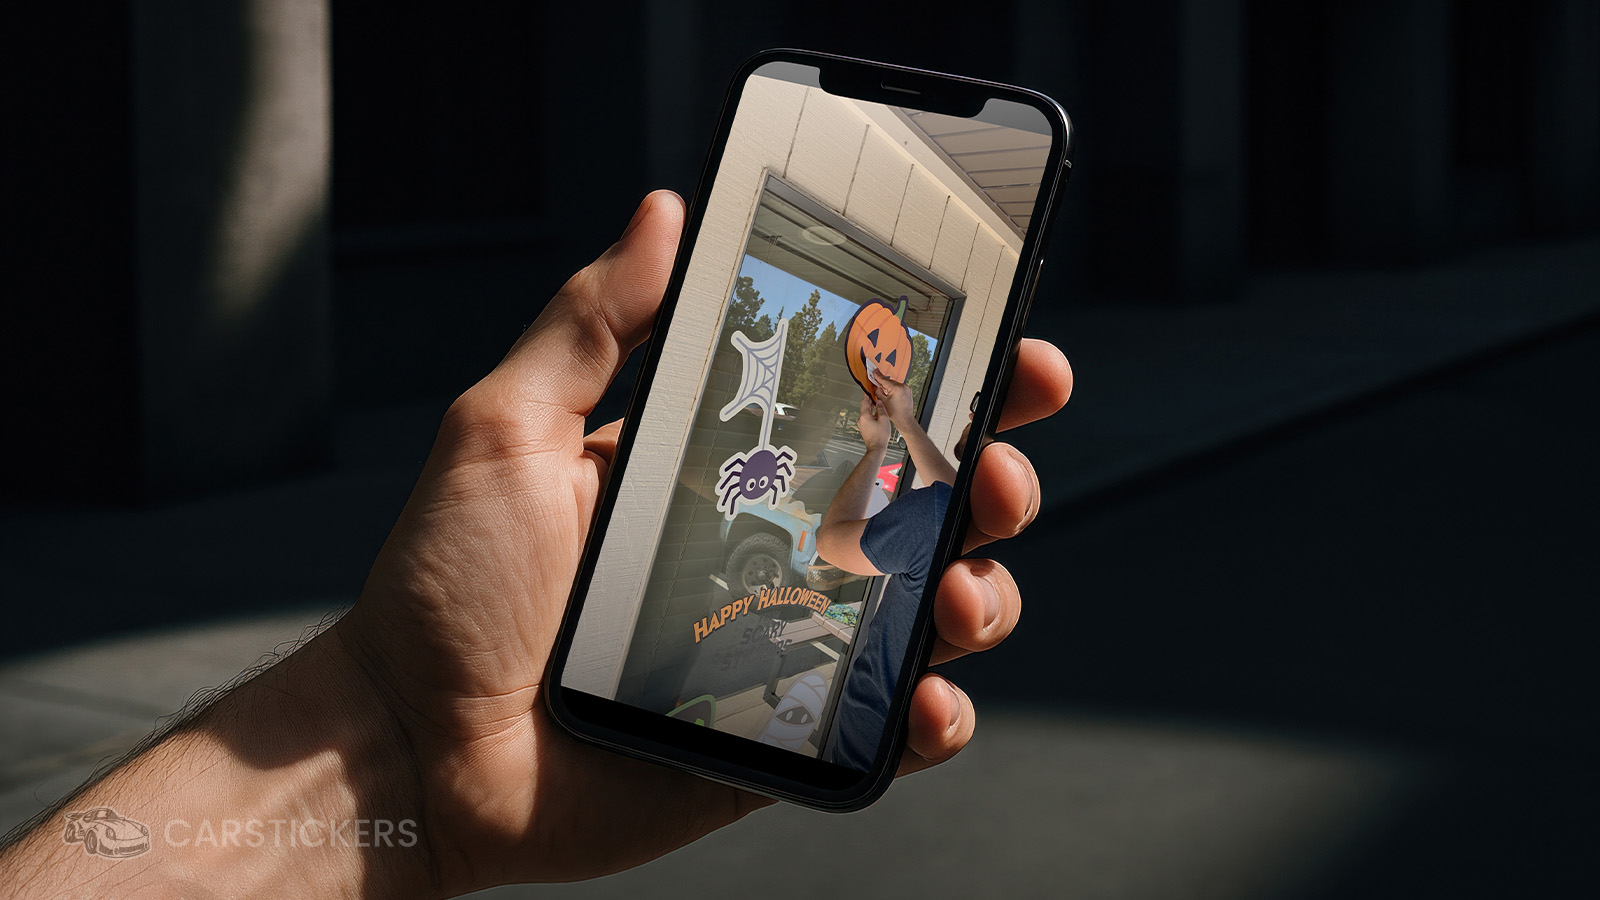
Don’t just refresh the storefront—film the transformation. A transfer-decal installation naturally gives you several visual moments that can be turned into short-form content without inventing a separate concept.
- Start with a clean “before” shot of the storefront.
- Capture a wide shot of the first decal being positioned.
- Get close-up footage of the backing being removed and the squeegee moving across the transfer tape.
- Film the moment the clear transfer tape peels away and the finished artwork is revealed.
- End with a wide “after” shot from the sidewalk so viewers can see the whole seasonal display.
You can also experiment with a simple interactive element. Add your social handle, website, or a scannable QR code so someone who notices the display after hours has a way to find the business online. If you post the installation video, compare different edits, hooks, camera angles, or before-and-after formats to learn what your audience responds to.
When the season is over, refresh the window again
Printed Transfer Decals can be removed, but they are not reusable once they come off the glass. Start by lifting an edge and peeling the vinyl away slowly. If the decal is stubborn, gentle heat from a hair dryer can help soften the adhesive. Any remaining residue can typically be cleaned from the glass with rubbing alcohol or an appropriate adhesive remover.
That makes a seasonal display easier to treat as an ongoing storefront project rather than a permanent redesign. Halloween can give way to a holiday window, a winter promotion, a spring refresh, or your next campaign without changing the basic approach: plan the layout, create the artwork, install it carefully, and document the transformation along the way.
Ready to plan your Halloween window? Start with Printed Transfer Decals for full-color, background-free graphics, then use our transfer decal application guide when installation day arrives. When the season is over, you can easily remove your decals and get ready for the next display too!


