How To Apply Vinyl Lettering
Welcome to Application Alley! Today, we're delving into the world of applying vinyl lettering stickers. Picture this: it's like giving your surface a temporary tattoo. We've got three layers: the backing, the vinyl sticker itself, and the transfer tape, which acts as the intermediary to transfer the sticker onto your desired surface. Let's dive in!
First things first, ensure your surface is squeaky clean. Forget Windex; opt for alcohol or soap and water to avoid any adhesive mishaps. Once cleaned, it's time to align your sticker. Utilize a ruler and some masking tape to secure it in place. Precision is key here, folks!
Now, carefully peel back the transfer tape, ensuring the sticker adheres. If it sticks to the backing, no sweat! A quick rub with a squeegee or credit card should do the trick. Once secure, peel off the backing, revealing your perfectly placed sticker.
Smooth out any air bubbles with your trusty squeegee, then remove the masking tape. Peel back the transfer tape at a 45-degree angle, ensuring the sticker stays put. Voila! Your surface is now adorned with vibrant vinyl lettering.
For optimal adhesion, we recommend waiting 24 hours before removing the transfer tape completely. But hey, for our demo, we'll skip ahead. And if your sticker decides to stick to the transfer tape instead of the surface? No worries—just give it a gentle rub and try again.
At Carstickers.com, we offer over 40 different materials for transfer stickers and vinyl lettering decals. So, whether you're jazzing up your car, laptop, or notebook, we've got you covered. Thanks for joining us, and we'll catch you next time in Application Alley!
 How to Fix Bubbles In Transfer Tape
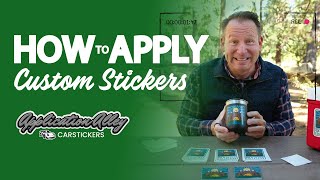 Tips, Tricks, & Examples For Applying All Custom Stickers
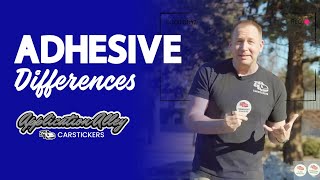 Exploring Sticker Adhesives: Which Is Right For You?
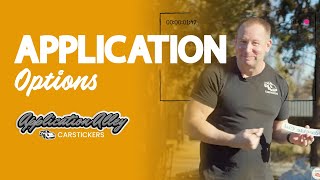 Inside Application vs Outside Application Stickers
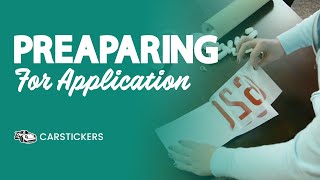
 How To Apply Custom Stencils Stickers for Painting
 How To Remove Vinyl Lettering Stickers
 How To Prepare & Apply A Transfer Sticker
 Large Sticker Application Instructions