How to Create a Cut Path for a Custom Sticker
Adding a cut path to your sticker design is crucial for guiding the cutting machines. This path, known as the cut contour, requires specific setup within your design file. Let's walk through the process step by step.
First, open the swatches panel and create a new swatch named "Cut Contour 2" without spaces, and set the color type to spot color. The color values can be customized as needed. Once created, add the swatch to the swatches panel.
Next, depending on whether your file is raster or vector, the technique for creating the cut path will vary. For raster images like JPEG or PNG, begin by duplicating the artwork using copy and paste in place. Then, use the Image Trace function to convert the image to a vector. Once traced, expand the result, outline the stroke, and merge and unite the shapes using Pathfinder. Swap the fill and stroke to create an outline of your artwork, then change the stroke color to the cut contour swatch.
For vector files like EPS or AI, creating the cut path is more straightforward. Highlight the design layer and use the offset path function to create a duplicate path slightly larger than the original. Merge and unite the paths, then change the stroke color to the cut contour swatch.
If any design elements are too far apart to join using offset path or stroke techniques, add additional shapes to connect them.
Following these steps ensures your sticker is accurately cut, ready to make a statement wherever it's placed.
 Ask The Experts: Stickers FAQs
 Personalized Wedding Stickers, Gifts, Favors, & more
 Tips & Tricks For The Design Tool
 How To Use The Design Tool
 About eLicensePlateFrames
 What Is A Transfer Sticker Pick?
 Why Buy From Us
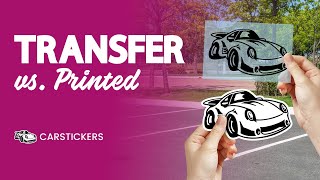 The Difference Between Printed and Transfer Stickers