
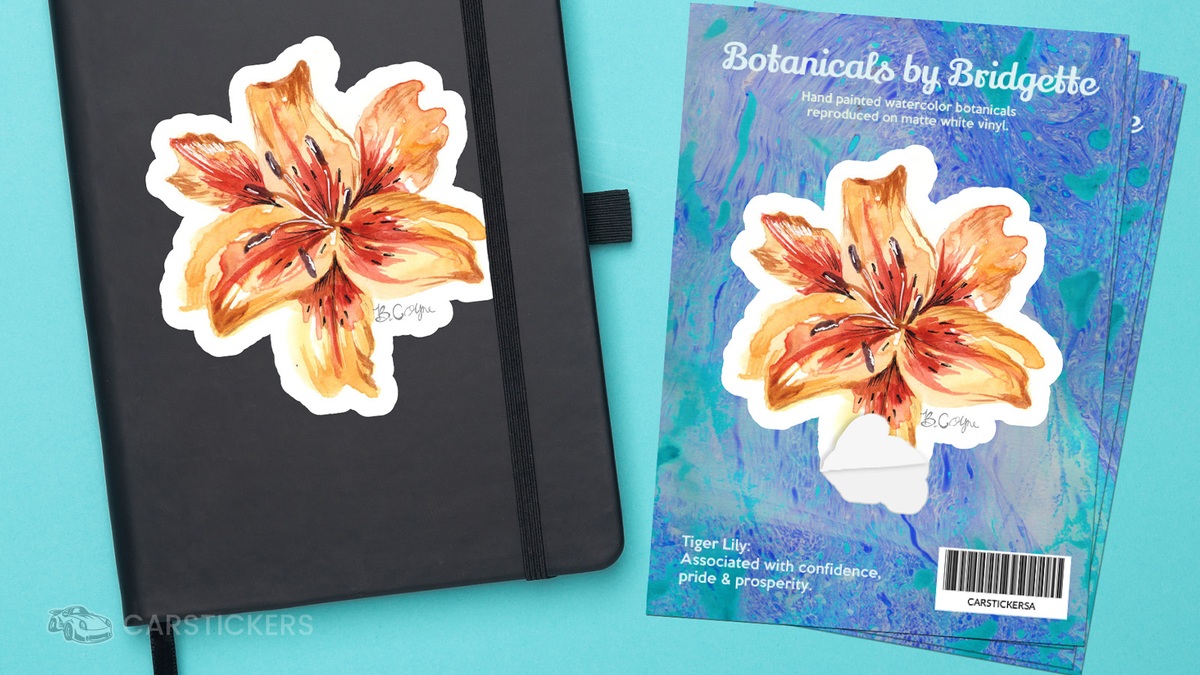
Whether you're an artist creating retail-ready stickers, a small business adding product information, or simply looking for a more polished sticker design, kiss cut stickers are one of the most versatile sticker formats available.
Unlike die-cut stickers, kiss cut stickers leave extra material around your design. That extra space gives you room to include branding, QR codes, barcodes, product details, care instructions, or additional artwork, all while making the sticker easier to peel from its backing.
The best part? You don't need expensive design software to create one.
In this tutorial, we'll walk you through how we designed a retail-ready kiss cut sticker using the CarStickers Design Tool. We'll be using a watercolor illustration painted by one of our graphic designers, a handmade marbled paper texture, custom text, and a barcode, but you can follow along with your own artwork or choose from thousands of clipart designs available directly in our design tool.
Let's get started.
Before You Begin
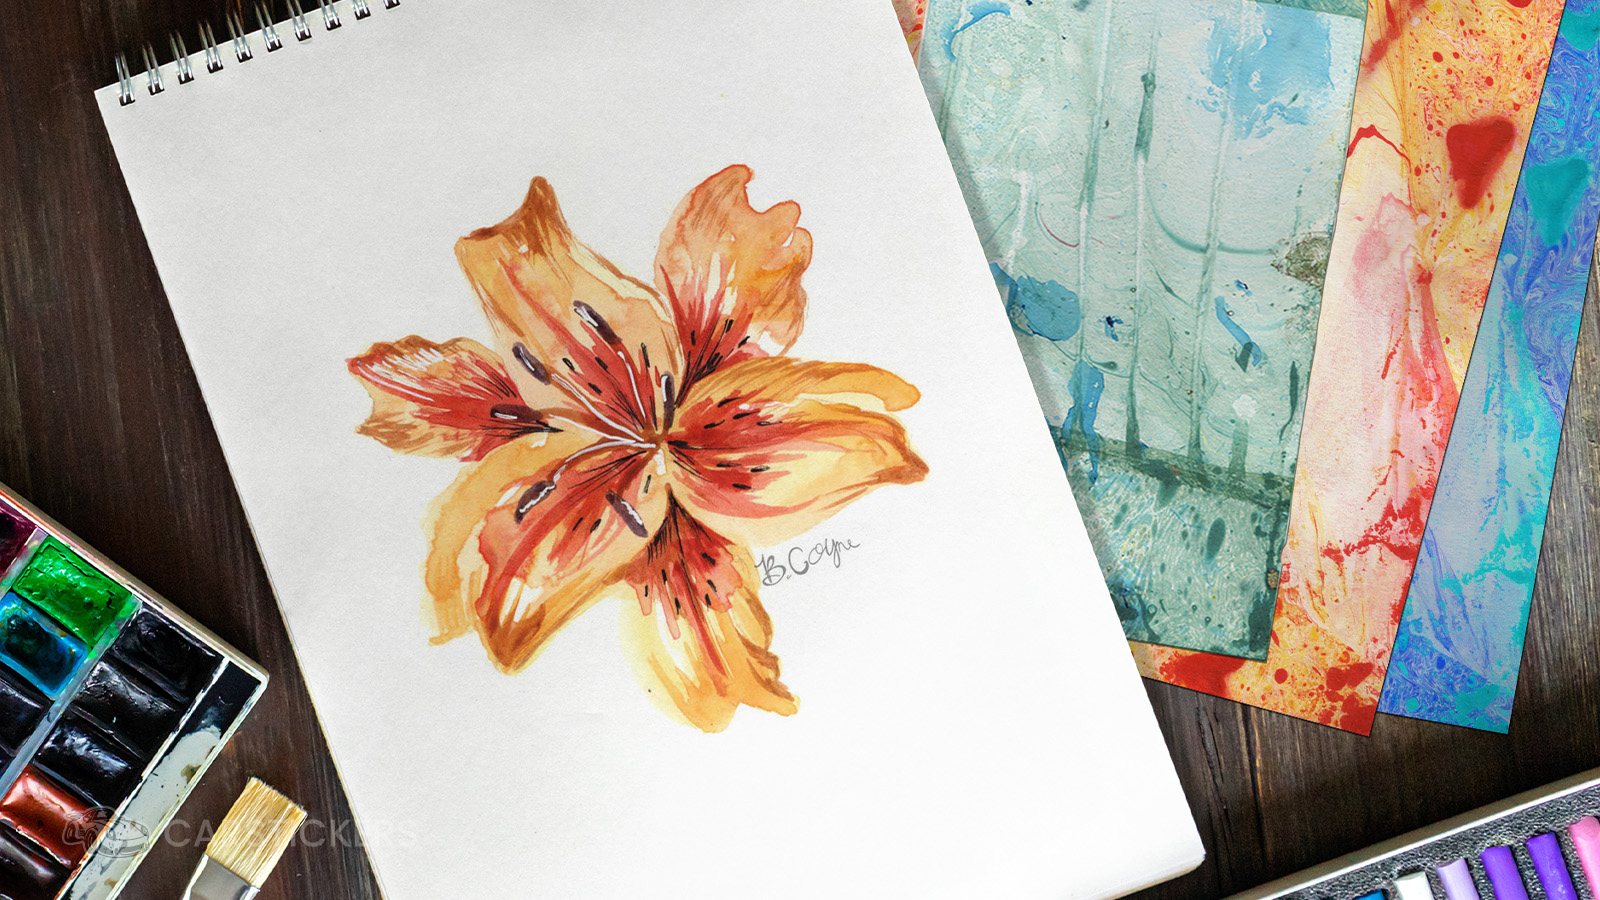
For this tutorial you'll need:
- Your artwork as a digital file (PNG recommended)
- A digital file of a background or texture (optional)
- Text for your branding
- A barcode number or website/social media for a QR code (optional)
If you don't have artwork of your own, don't worry. Our design tool includes thousands of professionally designed graphics through our Shutterstock partnership that you can use instead.
Step 1: Prepare Your Artwork
Before opening the design tool, spend a few minutes preparing your artwork.
For this project one of our graphic designers, Bridgette, painted a watercolor illustration, scanned it at 300 DPI, and adjusted the contrast slightly because scanners often make watercolor paintings appear duller than they are in person.
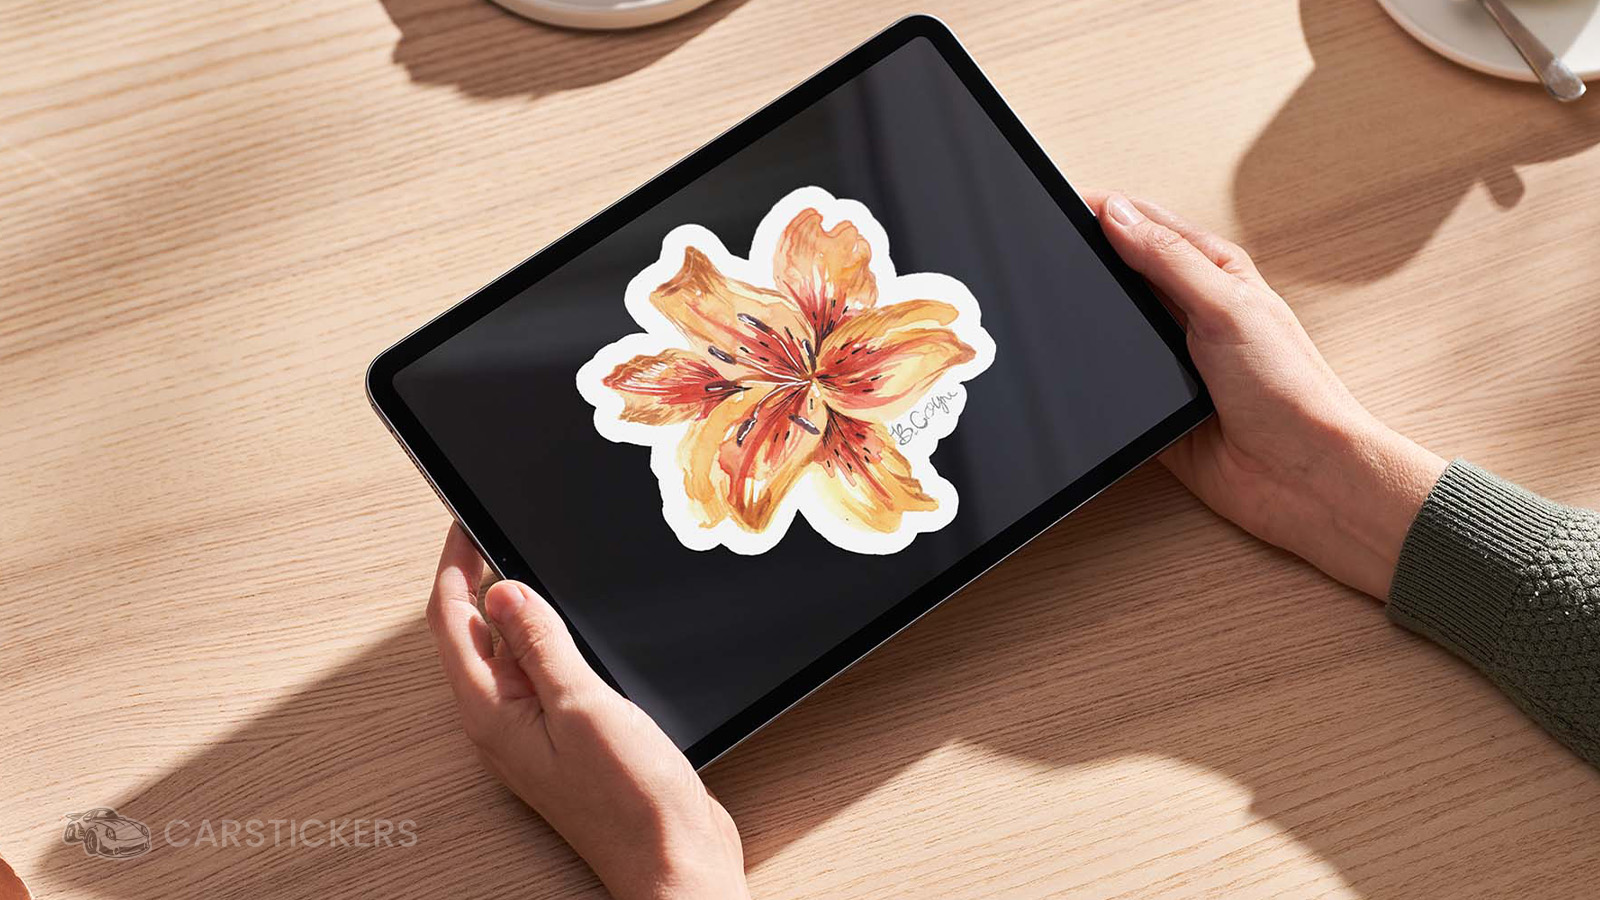
She then also added a white border around her artwork in Photoshop so we could better visualize the finished sticker.
Don't have Photoshop?
No problem. Canva and Procreate can both accomplish the same thing.
If you prefer, you can simply upload your artwork and leave a note during checkout asking our production team to add a white border before printing as well. We'll send you a proof for approval before your order goes into production.
Pro Tip
If you're working with traditional artwork like watercolor, ink, or colored pencil, always scan your artwork at 300 DPI or higher.
After scanning, consider increasing the contrast or adjusting the levels slightly. Most scanners soften colors a bit, and a quick adjustment can make your printed stickers look much closer to the original artwork. Check out our Sticker Design Tips blog for more tips on how to prepare artwork and sticker design files.
Step 2: Start a New Kiss Cut Sticker
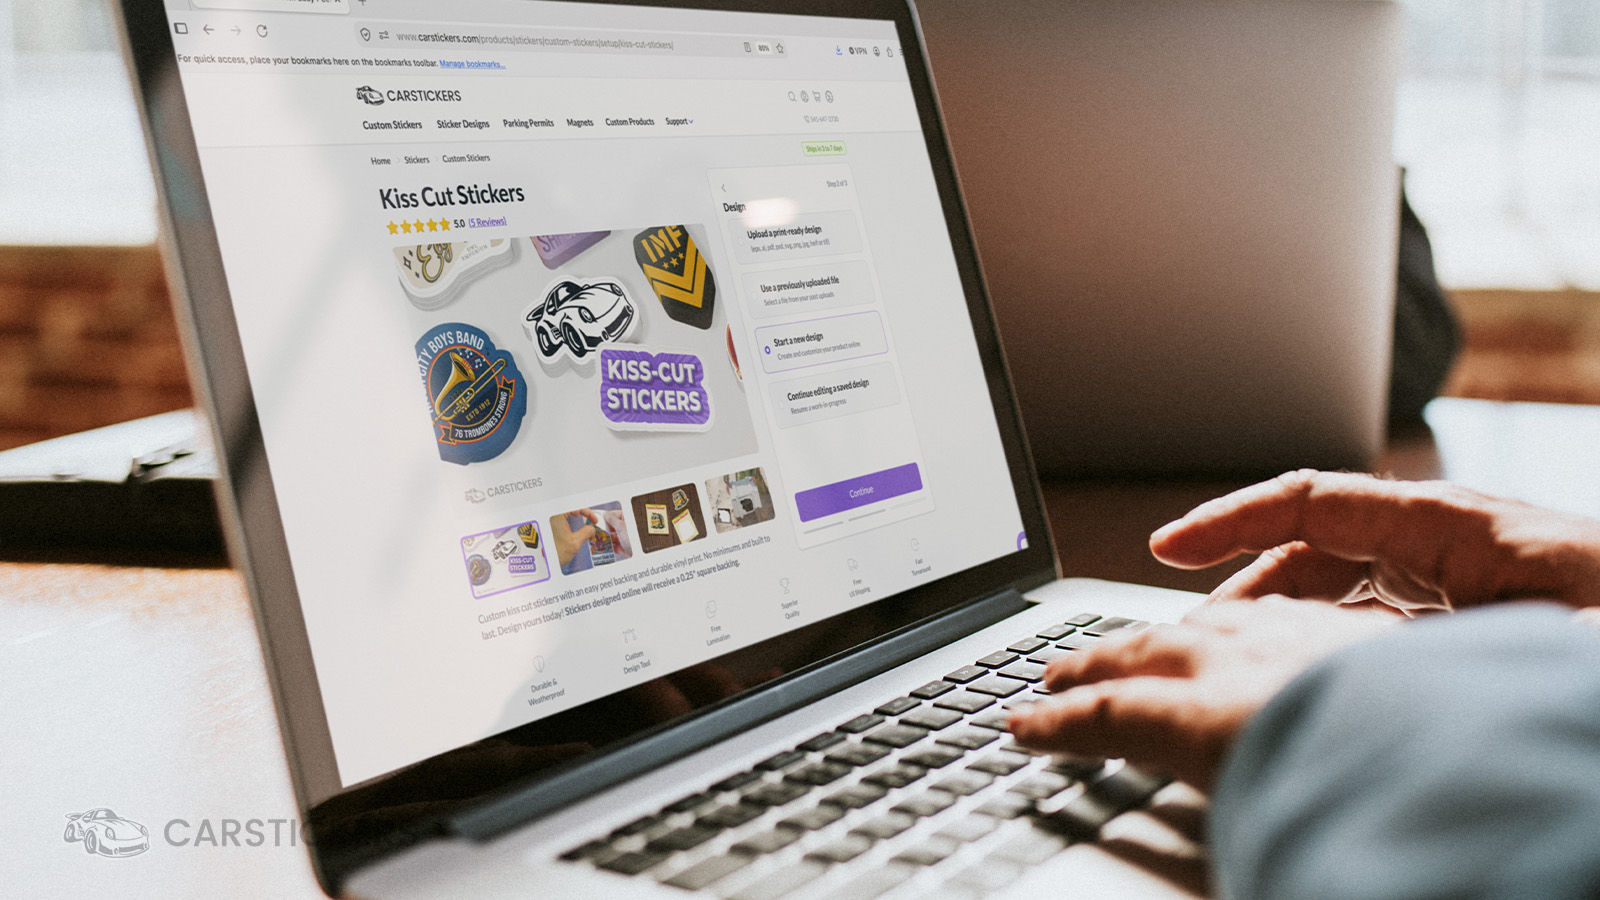
Navigate to the Kiss Cut Sticker product page and select Start a New Design.
Once the design tool opens, you'll see your workspace in the center and the editing toolbar on the right.
The first thing we did was upload Bridgette's watercolor artwork.
If your artwork is a JPG, you can use the Remove Background tool to isolate your design. Since we had already created a PNG with a transparent background, the artwork was ready to go.
Step 3: Add a Background
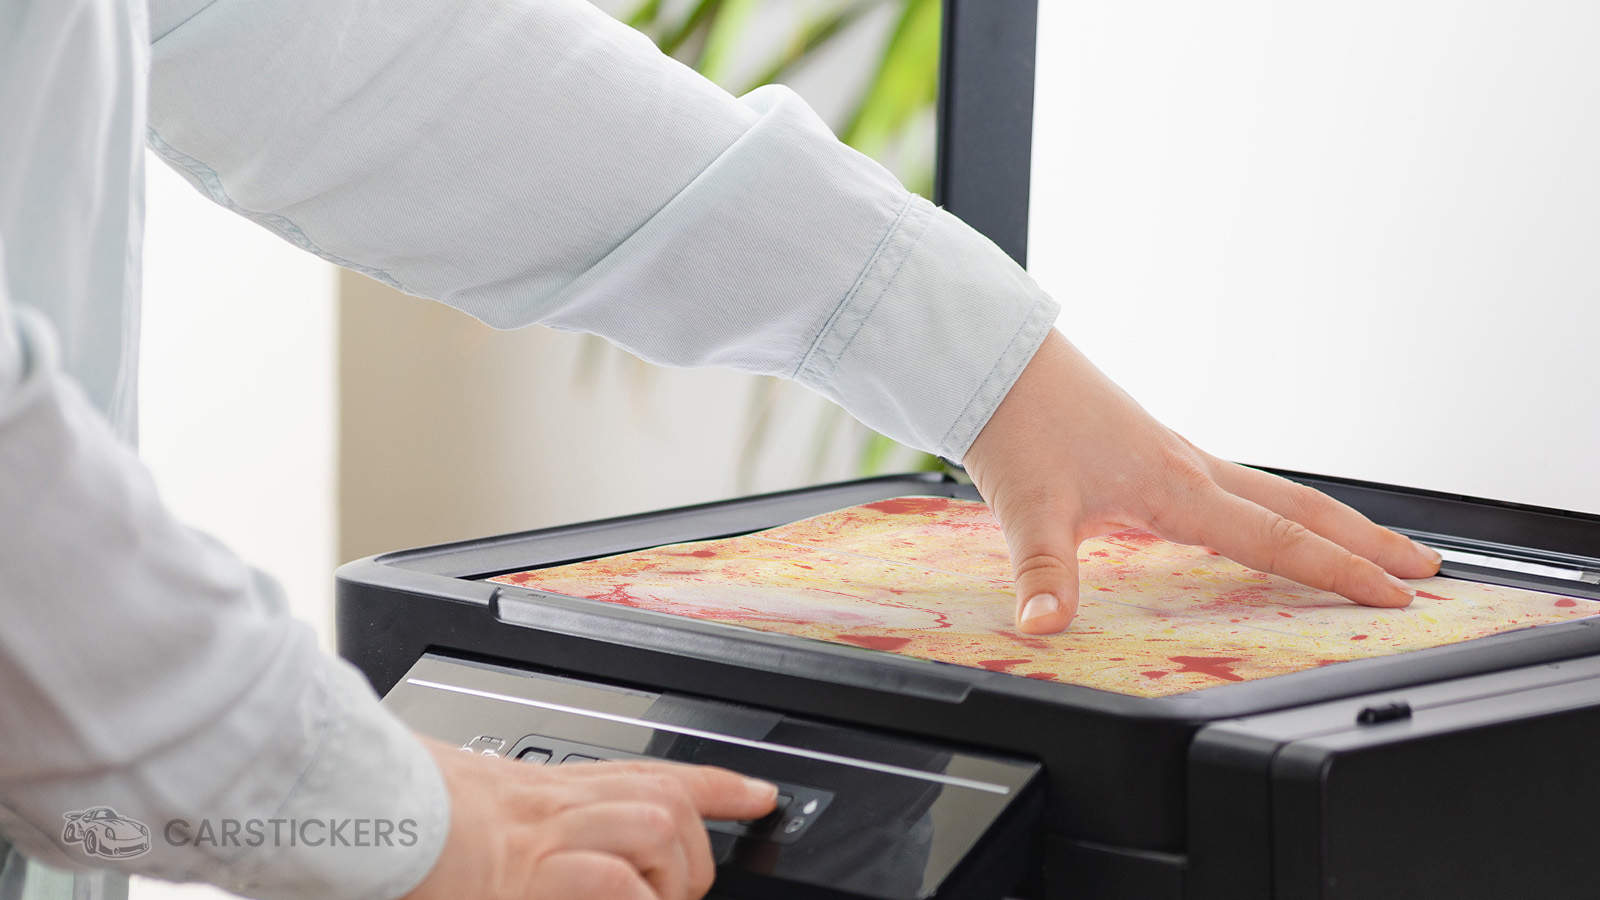
Next, we uploaded a handmade marbled paper texture to serve as the background of our kiss cut sticker. Bridgette created a handful of marbled sheets of paper using the Aitoh Boku-Undo Suminagashi Marbling Inks from Blick Art Materials. If you're looking for a fun summer project, marbling paper is a blast! You can use the sheets for other art projects, scan them in and use the textures in design projects, or frame them.
Backgrounds are completely optional, but they can make your sticker feel much more polished.
If you have access to a scanner, here are some other fun background ideas:
- Handmade paper
- Watercolor washes
- Vintage photographs
- Fabric textures
- Notebook paper
- Kraft paper
- Botanical patterns
Additionally, you can source backgrounds from design resources like Unsplash or Adobe Stock. Be sure to read the licensing policies before downloading them. Some design resources offer free options, others require paid subscriptions, and some cannot be used on products you intend to sell due to copyright restrictions. Always double-check the licensing terms before using downloaded artwork.
After uploading our background, we opened the Layers panel and moved it behind the watercolor illustration.
Step 4: Add Your Branding
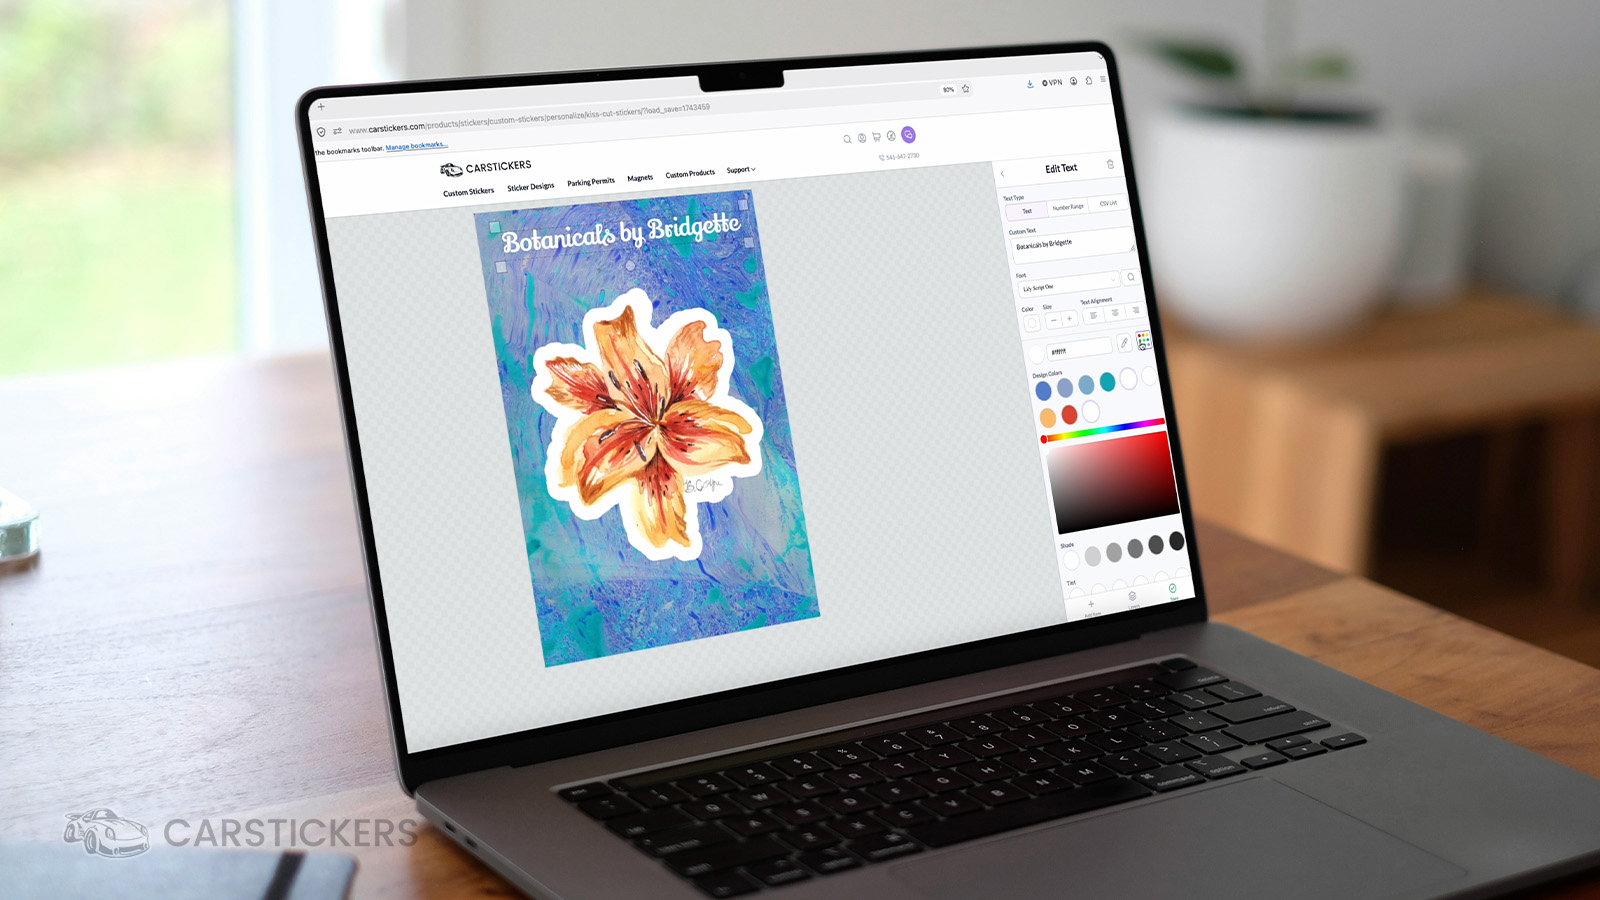
Now it's time to personalize the sticker.
We selected Add Item > Add Text and created the header:
Botanicals by Bridgette
Once your text is on the canvas you can:
- Browse thousands of fonts
- Search by font name
- Curve your text
- Change alignment
- Resize proportionally
- Add outlines
- Change colors
One feature we especially love is the Similar Colors palette.
Instead of manually searching for colors, the design tool automatically suggests shades and complementary colors pulled directly from your artwork, making it easy to build a cohesive design. Simply select the rainbow gradient to open the Similar Colors panel in the toolbar.
We then repeated this process for the subheading and additional product information.
Step 5: Add a Barcode
The final step for this design was adding a barcode.
Simply choose:
Add Item → Add Code → Barcode
Enter your barcode information and place it anywhere on the extra backing around your sticker.
Adding barcodes directly to your kiss cut stickers is especially useful if you're selling in retail stores, at markets, conventions, or local shops. Instead of applying labels by hand, everything is already printed and ready to go.
Step 6: Save & Finalize
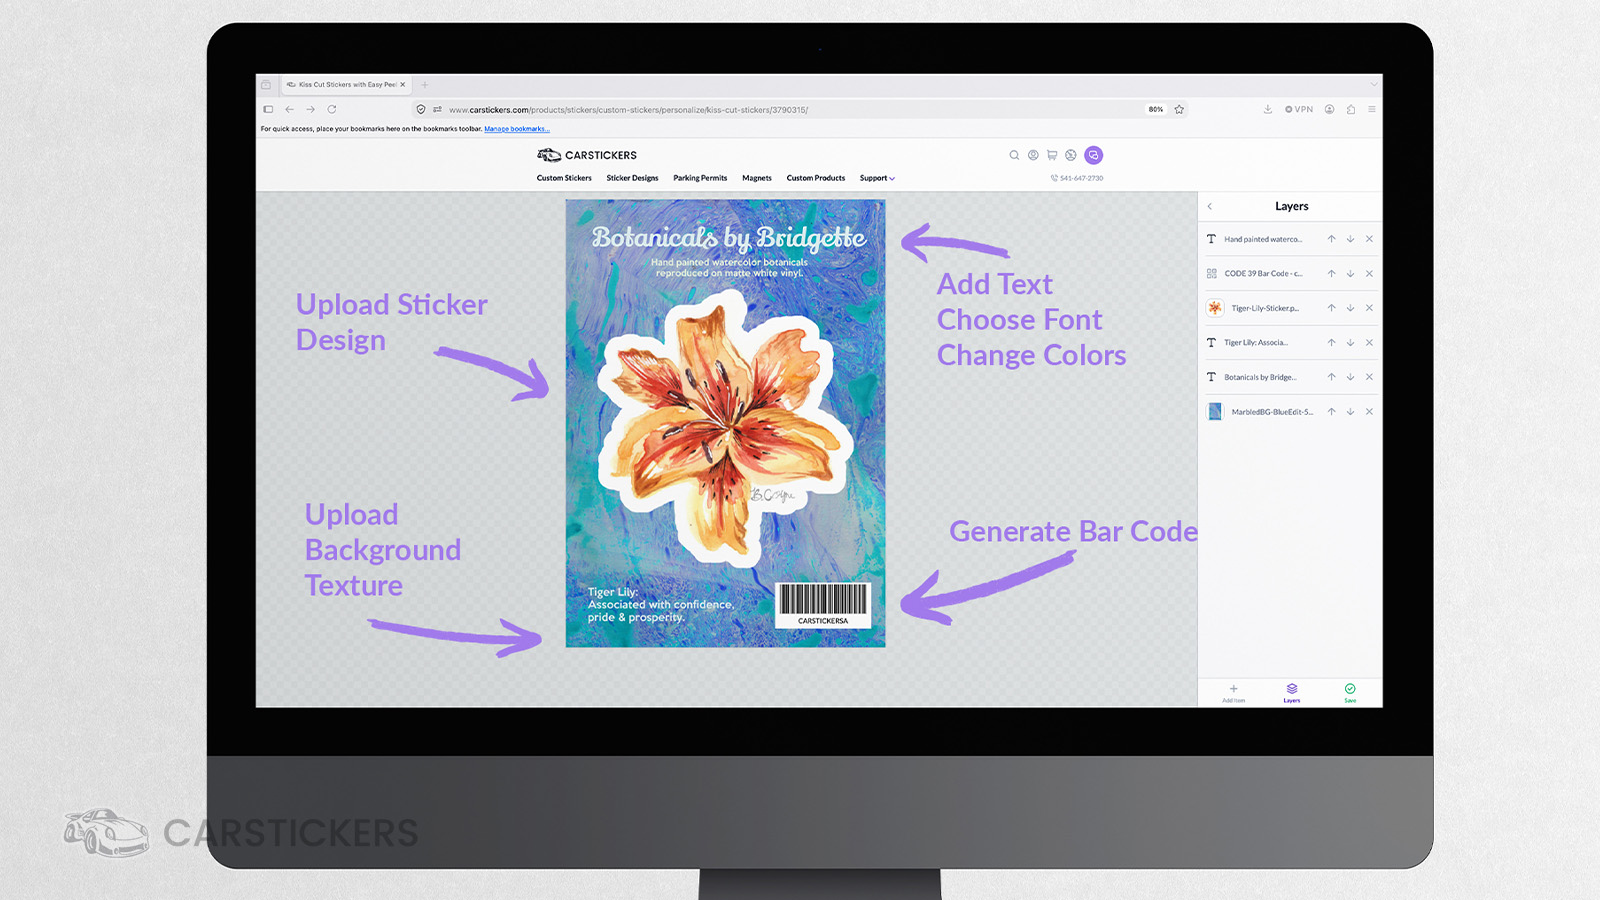
Once you're happy with your design, click Save and finalize your order.
If you'd like our production team to make adjustments before printing, simply leave instructions during checkout.
Some popular requests include:
- Add a white border around my artwork
- Punch a hole for retail displays
- Add hang tabs
- Adjust spacing around my design
We'll review your notes and send a proof whenever needed.
Final Thoughts
Creating a professional-looking kiss cut sticker design doesn't require expensive software or years of design experience. Whether you're preparing products for your Etsy shop, stocking a retail display, promoting your small business, or simply creating kiss cut stickers for fun, the CarStickers Design Tool makes it easy to bring your ideas to life.
With custom text, thousands of fonts, built-in barcode and QR code generators, layer controls, and powerful editing tools, you can design retail-ready kiss cut stickers entirely online, no expensive design software required.


