Friends Don't Let Friends Take Home Ugly Boys Vinyl Lettering S

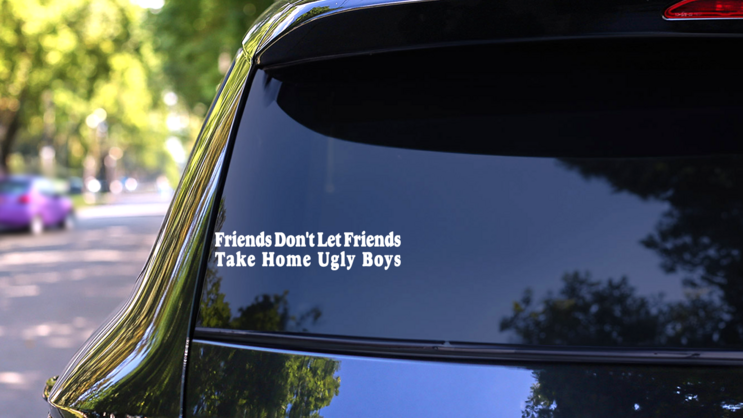


One Color Vinyl Cut Out Friends Don't Let Friends Take Home Ugly Boys Vinyl Lettering Sticker. Our Friends Don't Let Friends Take Home Ugly Boys Vinyl Lettering decals are very easy to apply and are designed specifically for outdoor use. Buy your Friends Don't Let Friends Take Home Ugly Boys Vinyl Lettering Sticker from Car Stickers!


